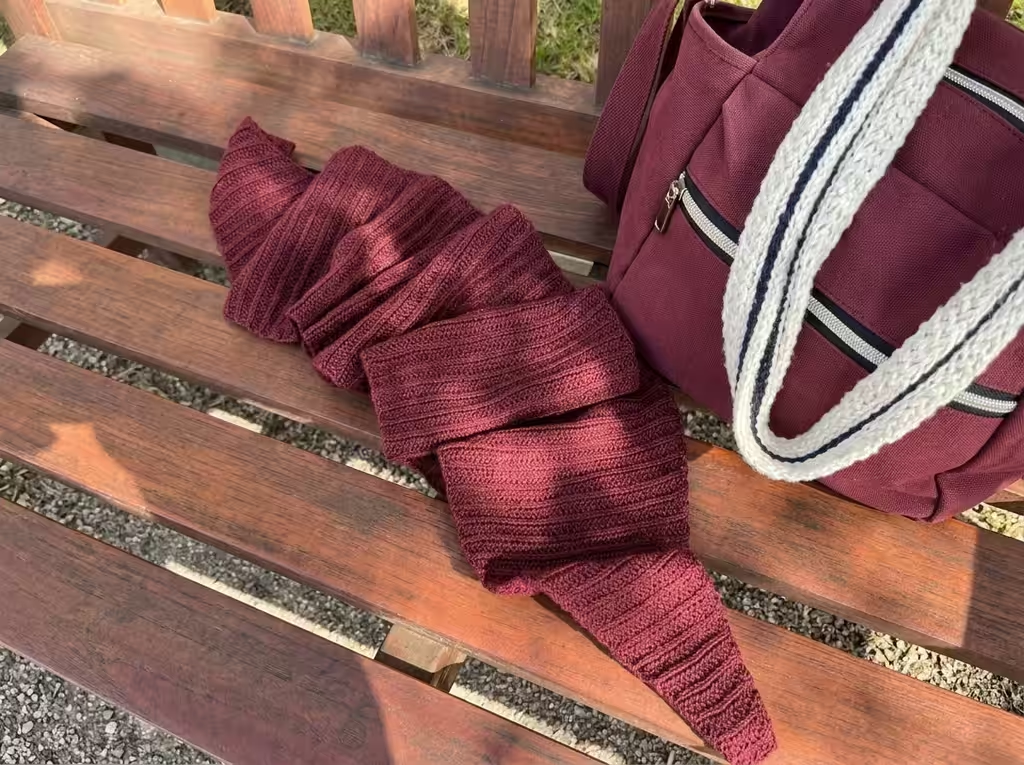
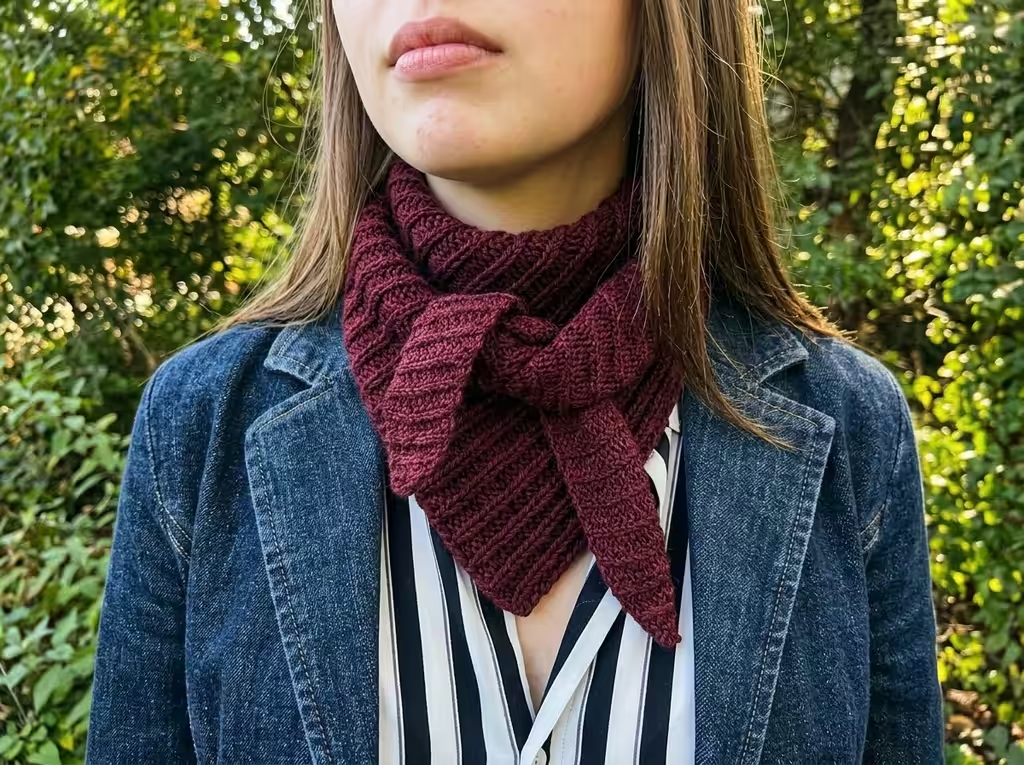
Got a single skein of gorgeous yarn and no idea what to make with it? This 1 skein crochet scarf is the answer. It’s worked in simple half double crochet stitches, all in the third loop, which creates a stretchy ribbed texture that looks surprisingly like knitting.
The pattern is easy to memorize, so it’s a perfect “watch a movie while you hook” project. You start at one point, widen to the full width, work straight for the length, then decrease to a matching point at the other end. It’s soft, drapey, and just the right size to dress up a coat or keep your neck warm on a chilly morning.
Why You’ll Love This Scarf
- Uses only 1 skein. No leftover yarn to worry about, and it’s a great way to use a special hand-dyed or speckled skein.
- Beginner-friendly. Just one stitch and simple increases and decreases.
- Knit look, crochet ease. The third loop ribbing gives a classic knitted texture without the hassle.
- Stretchy and drapey. Fingering weight yarn makes a lightweight scarf that’s perfect for layering.
- A great gift. It works up fast enough for last-minute presents, and it looks far more elaborate than it is.
Skill Level
Easy
Materials
- Yarn: About 485 yards (100 g) of fingering weight (#1) yarn. Sock yarn and merino blends work beautifully here. Semi-solid or tonal colors show off the ribbing best, while speckled yarns add a fun pop of color.
- Hook: US E/3.5 mm crochet hook (adjust if you need to match the gauge below)
- Notions: Tapestry needle, scissors, and a kitchen scale (optional, but handy for the yarn-saving tip below)
Finished Size
| Length | Width | |
|---|---|---|
| Before blocking | 48.5 in (123 cm) | 7 in (18 cm) |
| After blocking | about 60 in (152 cm) | 7 in (18 cm) |
Gauge: Roughly 16 stitches and 9–10 rows = 2 in (5 cm) in hdc worked in the third loop, before blocking.
Abbreviations (US Terms)
- Ch: chain
- Sl st: slip stitch
- Hdc: half double crochet
- Hdc2tog: half double crochet 2 stitches together (a decrease)
- St(s): stitch(es)
Before You Start: Working in the Third Loop
Every stitch in this scarf is worked in the third loop only. On a half double crochet, this is the horizontal bar that sits on the back of the stitch, just below the two V-shaped loops you normally work into. Working here pushes the top loops forward and creates that neat ribbed texture.
Don’t skip the gauge swatch if you’re using a different yarn. Ribbed fabrics like this one stretch, so a small swatch will help you avoid surprises with size.
How to Crochet the 1 Skein Scarf
Ch 2.
Row 1: Hdc in the 2nd ch from hook (1 st). Ch 1, turn.
Row 2: 2 hdc in the st (2 sts). Ch 1, turn.
Row 3: 2 hdc in each st (4 sts). Ch 1, turn.
Row 4 (increase row): 2 hdc in the first st, hdc in each st across to the last st, 2 hdc in the last st (6 sts). Ch 1, turn.
Row 5: Hdc in each st across (6 sts). Ch 1, turn.
Rows 6–54: Repeat Rows 4 and 5 (increase row, then plain row) until you have 56 sts. You’ll finish this section on a plain row. Ch 1, turn.
Rows 55–163 (body): Hdc in each st across (56 sts). Ch 1, turn.
Row 164 (decrease row): Hdc2tog over the first 2 sts, hdc in each st across to the last 2 sts, hdc2tog over the last 2 sts (54 sts). Ch 1, turn.
Row 165: Hdc in each st across (54 sts). Ch 1, turn.
Rows 166–209: Repeat Rows 164 and 165 until you have 8 sts left.
Row 210: Hdc2tog, hdc in each st across to the last 2 sts, hdc2tog (6 sts). Ch 1, turn.
Row 211: Hdc2tog, hdc in each st across to the last 2 sts, hdc2tog (4 sts). Ch 1, turn.
Row 212: Hdc2tog twice (2 sts). Ch 1, turn.
Row 213: Hdc2tog (1 st).
Fasten off and weave in your ends.
Pro Tip: Fix the Small Gap at the Row Ends
When you work 2 hdc into the last stitch of an increase row, you may notice a small hole at the edge. This is normal when working in the third loop only. To close it, work that last stitch through both loops instead of just the third loop. The edge will look tidier and the ribbing stays intact.
How to Adjust the Scarf to Your Yarn Amount
Not every skein has the same yardage, and that’s totally fine. Here’s a simple way to make the scarf fit your yarn exactly:
- Weigh your skein before you begin. Most fingering weight skeins are 100 g, so I’ll use that in this example.
- Finish the whole increase section (Rows 1–54), then weigh the skein again. The difference is how much yarn the first point used.
- Keep working the body, weighing every so often.
- Start the decreases once the remaining yarn equals the amount used for the increases, plus 2–4 g of wiggle room. So if the increases used 16 g, begin decreasing when you have about 18–20 g left.
This way you use up almost every yard without running out halfway through the second point.
Blocking Your Scarf
I highly recommend blocking this scarf. It makes the stitches relax, evens out the ribbing, and gives the fabric a beautiful drape.
- Soak the scarf in lukewarm water with a little wool wash for about 20 minutes.
- Press out the water gently (roll it in a towel, don’t wring it).
- Lay it flat on blocking mats or a clean towel and gently stretch it to the length you’d like, pinning the edges and points.
- Let it dry completely.
Stretching the scarf while it’s damp can add up to 10 inches of length, which is a big help if your skein is on the shorter side.
Styling and Yarn Ideas
- Hand-dyed or speckled yarn: A special skein deserves a project where the color can shine, and this scarf has plenty of smooth surface to show it off.
- Solid neutrals: Cream, oatmeal, or charcoal make a classic scarf that goes with everything.
- Merino, silk, or bamboo blends: These add extra drape and softness against the skin.
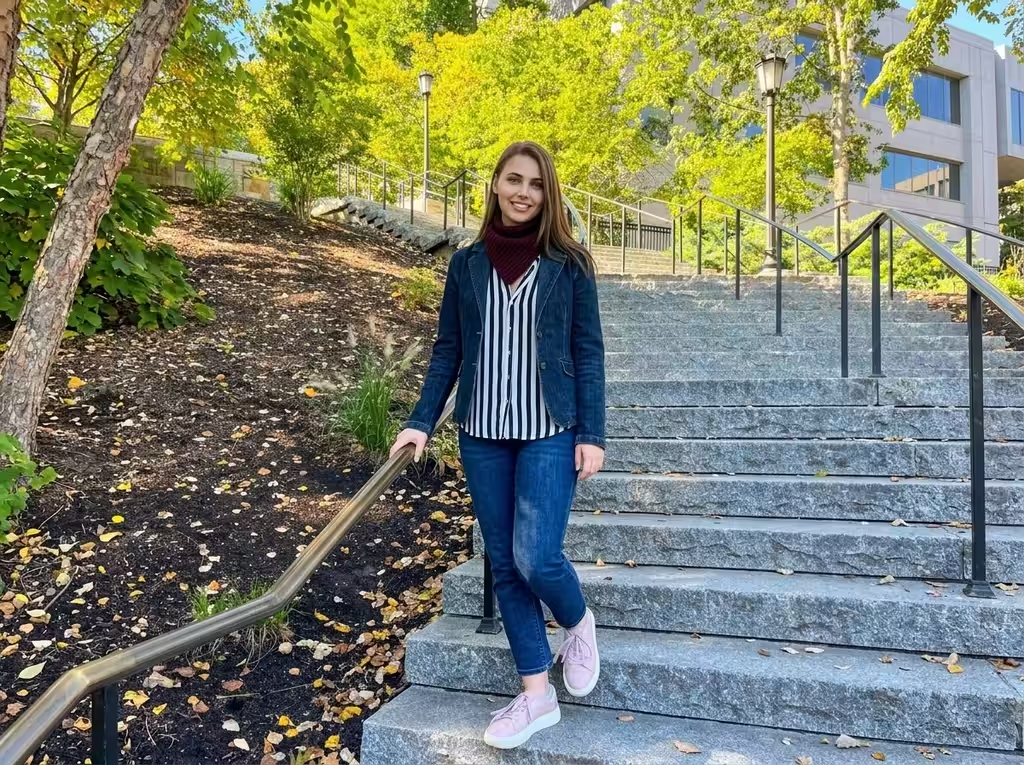
- Wrap it your way: Wear it long, loop it once for a cozy neckline, or drape it over your shoulders like a light shawl.*
Frequently Asked Questions
Can I make this scarf wider or narrower?
Yes. Change the number of stitches at the end of the increase section. Just keep the number even so the decrease rows work out the same way, and remember that a different width will use a different amount of yarn.
Can I use a different yarn weight?
You can, but you’ll need to adjust the hook size, the stitch count, and the row count. Do a gauge swatch first and plan your numbers from there.
Why is my scarf curling?
Ribbed fabrics tend to relax and lie flat after blocking. A good wet block usually fixes any curling.
How do I know the scarf will fit my yarn?
Use the weighing method above. It’s the easiest way to be sure you’ll have enough yarn for the second point.
Is this pattern really beginner-friendly?
Absolutely. If you can make a half double crochet and follow a simple increase and decrease, you can make this scarf.
Save This Pattern
Pin this free 1 skein crochet scarf pattern for later, and share a photo of your finished scarf when you make it. I’d love to see your color choices!