There’s something about a tiny robin that instantly says “cozy season is here.” That flash of warm rust-orange against a round, huggable body just feels like the holidays, crisp mornings, and hot cocoa by the window. This free crochet robin pattern is a quick weekend project that works up in an evening, and it’s perfect for beginners who already know the basics of amigurumi.
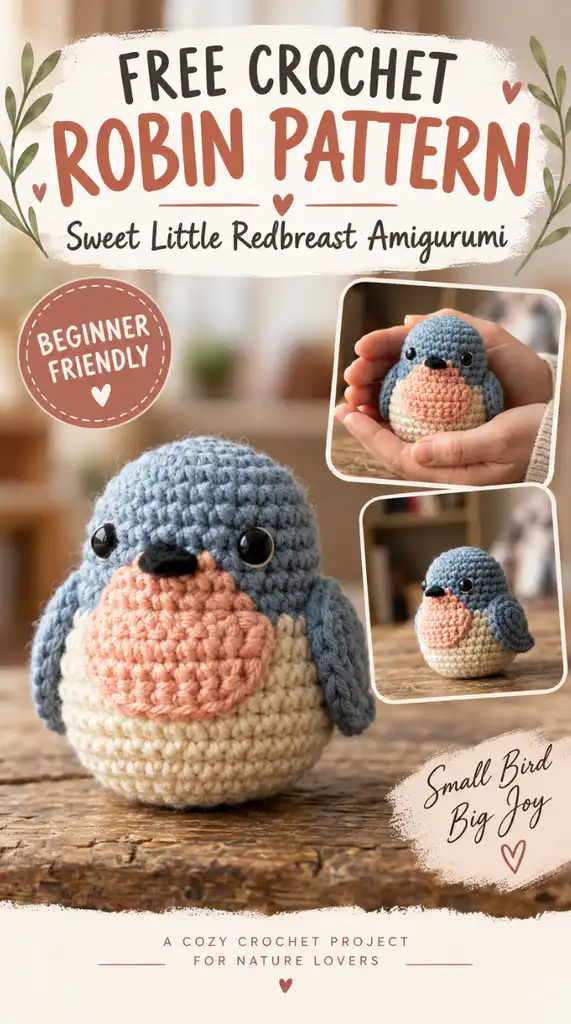
Whether you want to hang it on your tree, tuck it into a stocking, clip it onto a bag as a little charm, or just line up a whole flock on your windowsill, this pattern gives you a plump, expressive robin with minimal sewing and maximum charm.
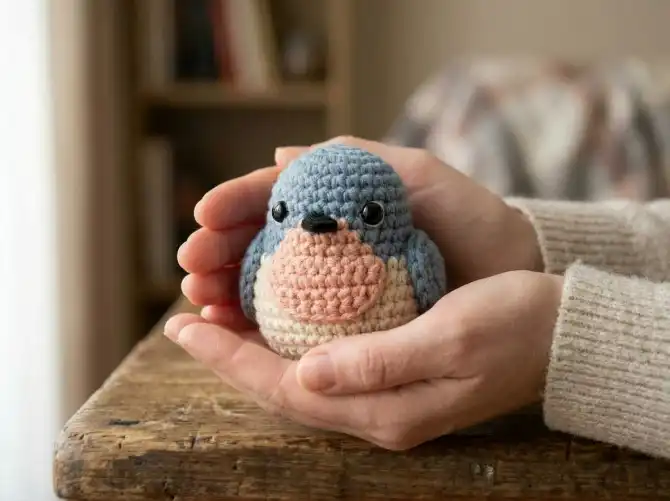
Finished Size
Roughly 2 inches (5 cm) tall using worsted weight yarn and a 3 mm hook. Switch to a chunky yarn and a bigger hook if you want a cuddlier, oversized version — it works beautifully either way.
Materials
- Worsted weight yarn (or chunky yarn for a bigger bird) in: warm brown, cream/off-white, rust orange, and black (small amount)
- 3 mm crochet hook (or 5–6 mm for chunky yarn)
- 2 small safety eyes (or embroider the eyes if the toy is for a small child)
- Polyester stuffing
- Tapestry needle
- Stitch marker
- Scissors
Abbreviations (US terms)
- ch — chain
- sc — single crochet
- inc — increase (2 sc in same stitch)
- dec — invisible decrease
- st(s) — stitch(es)
- MR — magic ring
Notes Before You Start
- This pattern is worked in continuous spiral rounds — no joining, no chaining up. Use a stitch marker to track your round.
- Stuff firmly as you go; it’s much harder to stuff a finished, closed shape.
- The color changes are worked by simply switching yarn at the start of a round — no need for anything fancy.
Pattern
Body (start in cream)
- Rnd 1: 6 sc in MR (6)
- Rnd 2: inc around (12)
- Rnd 3: [sc, inc] x6 (18)
- Rnd 4: switch to brown — sc around (18)
- Rnd 5: [sc x2, inc] x6 (24)
- Rnds 6–9: sc around (24)
- Rnd 10: [sc x2, dec] x6 (18) — insert safety eyes here, spaced about 5 sts apart
- Rnd 11: switch to rust orange for the front 8 sts, keep brown for the back 10 sts — sc around (18)
- Rnd 12: repeat color placement from Rnd 11 (18)
- Rnd 13: [sc, dec] x6 (12) — start stuffing firmly
- Rnd 14: dec around (6)
Fasten off, weave the tail through the remaining 6 stitches, pull tight, and secure.
Wings (make 2, in brown)
- Rnd 1: 4 sc in MR (4)
- Rnd 2: inc around (8)
- Rnd 3: sc around (8)
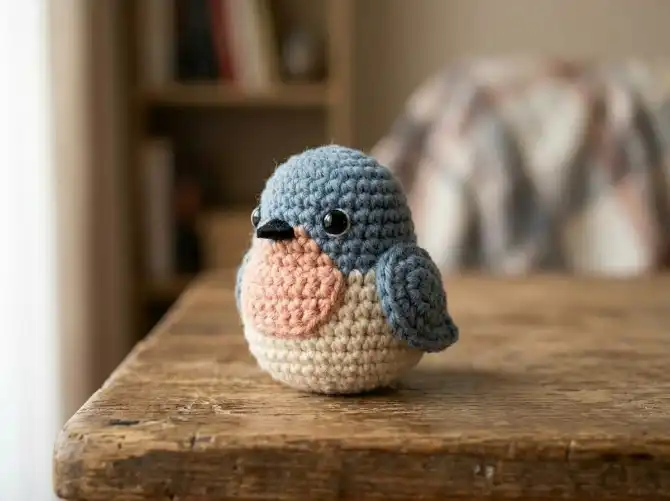
Fasten off leaving a long tail for sewing. Flatten the wing and sew it onto the side of the body, roughly between Rounds 6 and 9.
Beak (in black, tiny amount)
- Ch 2, sc in 2nd ch from hook. Fasten off leaving a small tail.
- Sew the beak just below the eyes, centered.
Finishing Touches
- If you didn’t use safety eyes, embroider two small black dots with a strand of black yarn.
- Optional: add a tiny loop of yarn at the top of the head if you’d like to hang your robin as an ornament.
Tips for a Cuter Robin
- Slightly under-stuff the cheeks area for a softer, rounder look.
- A fluffy or “fuzzy” yarn for the belly gives a lovely feathery texture without any extra stitches.
- Make a whole flock in different sizes using different hook and yarn weights — they nest together beautifully in a bowl on a shelf.