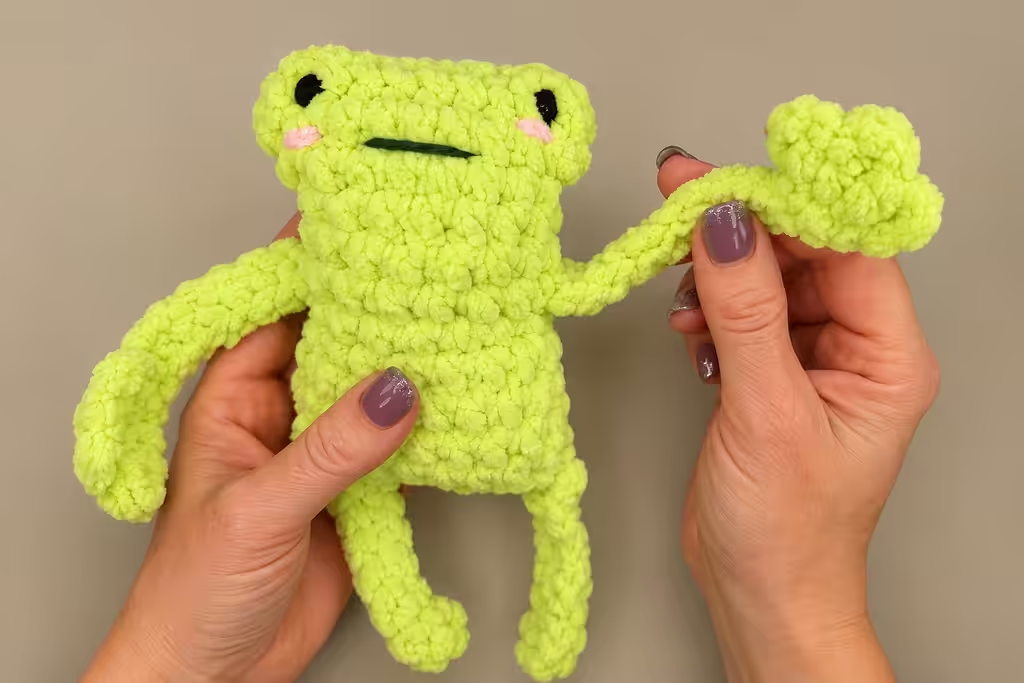
If you’ve ever dreaded sewing four wobbly little limbs onto an amigurumi after the fact, this pattern skips that step entirely. The legs are built right into the body as you go, so the whole frog comes together as one continuous piece and closes with a single seam at the end. It’s a fun, fast make if you want a cute crochet frog without the usual finishing fuss.
At a Glance
| Time | Skill Level | Finished Size | Hook |
|---|---|---|---|
| 1–2 hours | Intermediate (in-the-round limb shaping) | Small | 6mm |
What You’ll Need
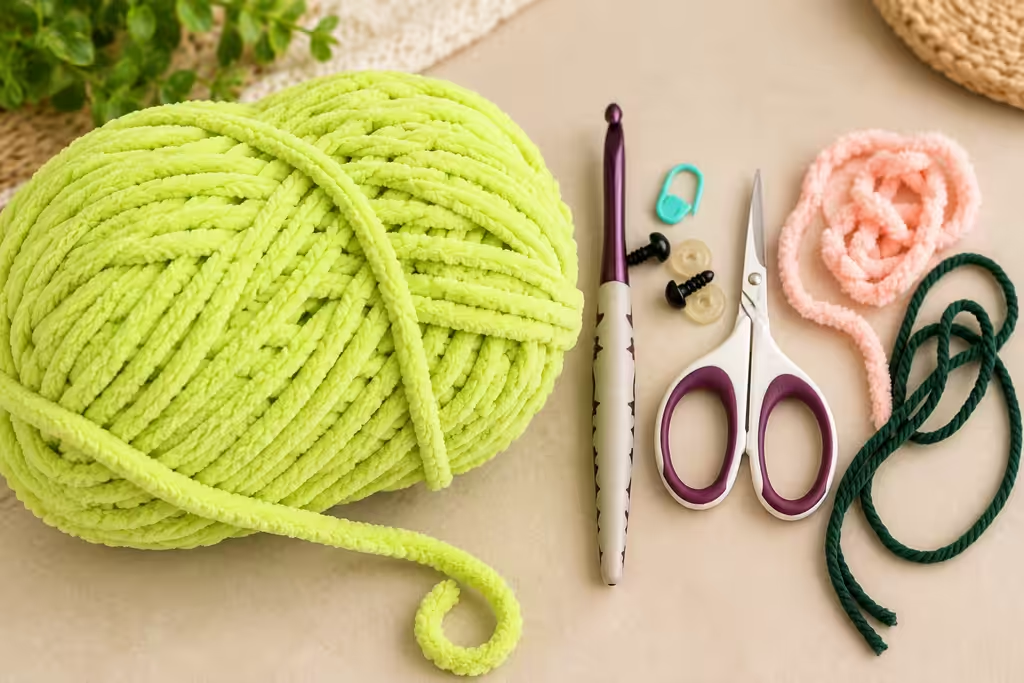
- Worsted weight yarn, approx. 300g
- 6mm crochet hook
- 10mm safety eyes
- Polyester fiberfill
- Small amount of black yarn or embroidery floss (for the mouth)
- Small amount of pink yarn or embroidery floss (for the cheeks)
- Yarn needle
- Stitch marker
- Scissors
Stitches & Abbreviations
| Abbreviation | Stitch | Notes |
|---|---|---|
| ch | chain | — |
| sc | single crochet | — |
| hdc | half double crochet | — |
| inc | increase | 2 sc worked into the same stitch |
| dec | invisible decrease | insert hook into next 2 sts as for a single sc, yarn over, pull through both loops |
| sl st | slip stitch | used to seam the body closed at the end |
| st(s) | stitch(es) | — |
| rnd(s) | round(s) | — |
Pattern Instructions
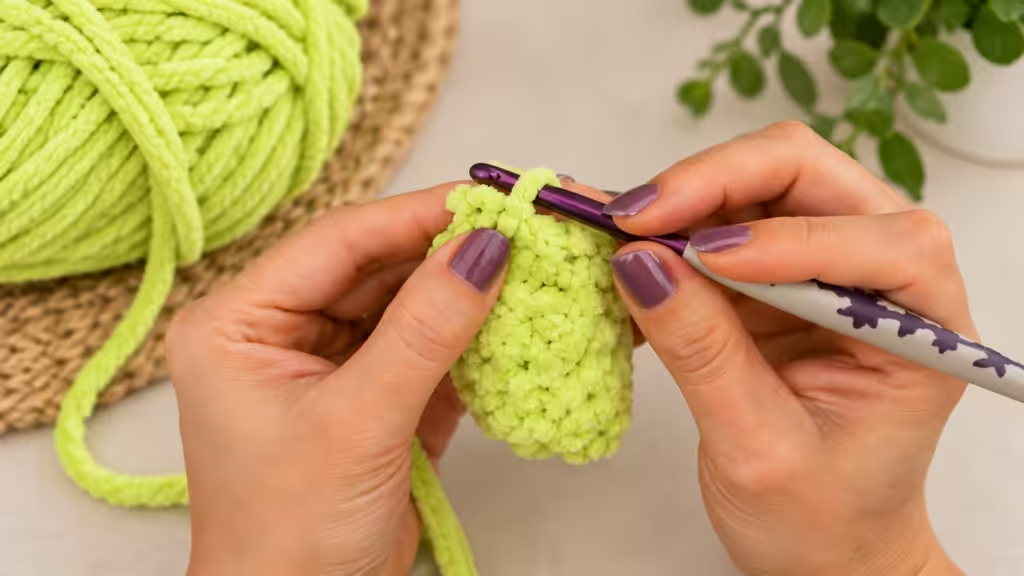
Foundation chain: Chain 9. Place a stitch marker in the last chain you made (the one closest to your slip knot) — you’ll use it as a landmark as the piece grows.
Round 1: Work 2 hdc into the 3rd chain from the hook (the two skipped chains act as your first hdc, with the marker sitting at the top of that starting ch-2). Single crochet across the next 5 chains. Work 4 hdc into the final chain. Now flip the piece to work down the opposite side of your starting chain: sc across the next 5 chains, then finish with 1 hdc in the last chain. You should have 18 stitches.
Round 2: Decrease, then sc 7, decrease again, then sc 7. You’ll be down to 16 stitches.
Rounds 3–4: Single crochet all the way around for both rounds, keeping the count at 16.
Adding the face: Before going further, place your safety eyes on either side of the head, lining them up between Rounds 1 and 2. Embroider a small cheek just below and slightly to the side of each eye. Stitch the mouth centered between Rounds 2 and 3, keeping it about 3 stitches wide.
Round 5: Single crochet 8 stitches (nudge this number up by a stitch or two if needed so you land at the side of the body where a limb should begin).
First leg: Chain 14. Work 1 sc into the 4th chain from the hook. Next, chain 3 and sc back into that same stitch — repeat that little chain-3-and-sc combo once more in the same spot. Then single crochet back up the remaining 10 chains toward the body to finish the leg.
Continue around the body with 8 more sc, then repeat the leg instructions to create the second leg.
Round 6: Single crochet all the way around, back to 16 stitches. As you work this round, hold each leg out and away from the body so your hook stays in the body’s stitches rather than accidentally catching a leg.
Round 7: Sc 7, increase, sc 7, increase. This brings you up to 18 stitches.
Rounds 8–11: Single crochet around for all four rounds, holding steady at 18 stitches.
Round 12 and closing up: Single crochet a handful of stitches until you reach the frog’s side, then work one more leg using the same method as before. Stuff the body firmly at this point, before sealing it shut.
Sealing the frog: Fold the frog flat so the open stitches on the underside line up. Starting next to the leg you just finished, take the first two stitches, insert your hook through the back loop of both together, and slip stitch them closed. Keep slip stitching the next three pairs the same way. When you reach the spot for the fourth leg, make it now using the same technique as the others. Finish slip stitching the remaining stitches shut, then fasten off.
Stitch Count Checkpoints
| Round | Stitch Count |
|---|---|
| 1 | 18 |
| 2 | 16 |
| 3–4 | 16 (each) |
| 6 | 16 |
| 7 | 18 |
| 8–11 | 18 (each) |
Troubleshooting Tips
A leg got caught up in Round 6’s count. Hold each leg firmly out to the side before working the stitch right behind it, so your hook only ever picks up the body’s loop, never the leg’s.
The final seam looks lopsided. Always slip stitch through the back loops only, and stay consistent pair to pair — switching between front and back loops partway through is what makes the closure look uneven.
The legs ended up different lengths. Double-check your chain-14 foundation on each of the four legs. Even a single extra or missing chain is easy to spot on a piece this small.
Watch the Video Tutorial
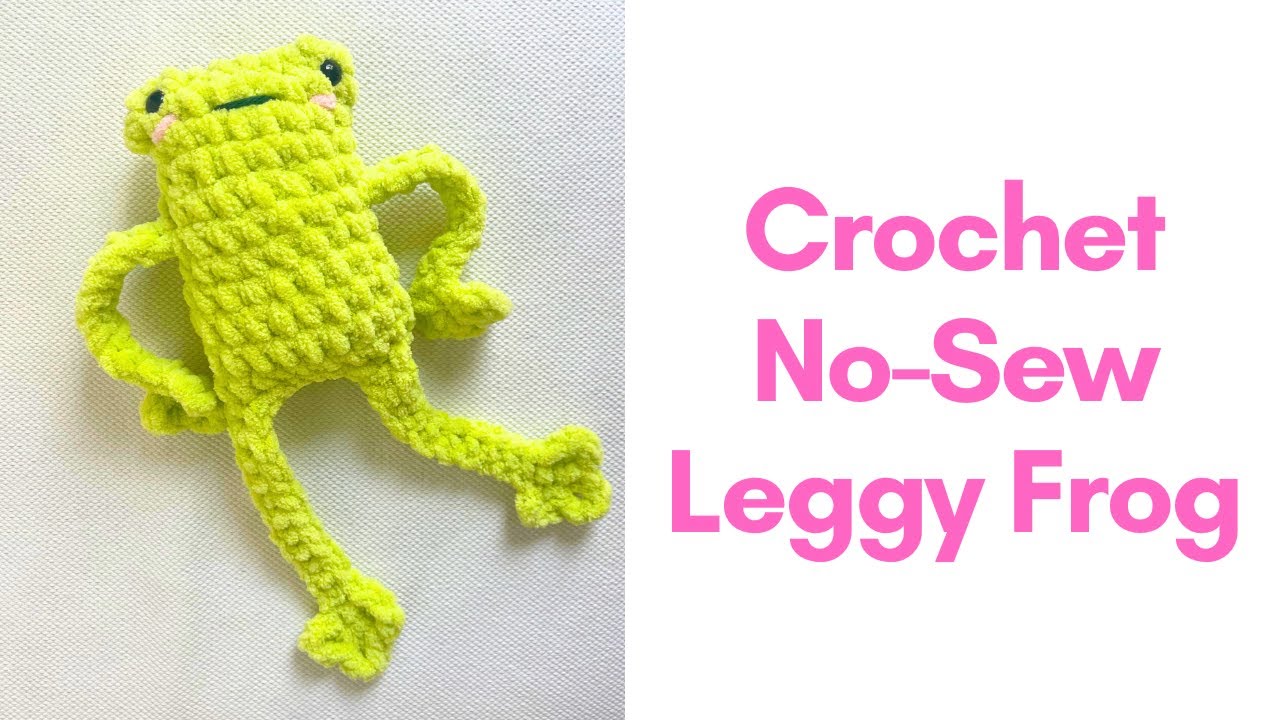
If you’d rather follow along visually, this pattern is also demonstrated step-by-step in a video tutorial , handy for double-checking the leg construction or the final slip-stitch seam if you’re not used to working limbs in the round.Video tutorial by Anita Louise Crochet :
Finishing Touches
Weave in any loose ends. Because this pattern closes with a slip-stitch seam rather than a cinched running stitch, give the final seam a firm double-check before you fasten off — a loose slip-stitch closure gives stuffing more room to work its way back out than a traditional gathered seam would.