A beginner-friendly amigurumi turtle you can finish in about an hour , no sewing required!
If you’ve ever put off finishing an amigurumi because you dreaded the sewing-on-parts step, this pattern is for you. Every single piece of this little turtle — the fins, the head, the shell — gets joined right into the body as you crochet, round by round. The only time you’ll pick up a yarn needle is to tuck away the loose ends at the finish line.
I designed this pattern with three things in mind: no sewing, a fast finish, and a shape cute enough to actually want to make more than one. Plush/chenille yarn is what makes this possible — it works up quickly, hides small imperfections beautifully, and gives the turtle that soft, squishable feel that makes it irresistible to kids (and, honestly, adults too).

Why You’ll Love This Pattern
- Truly no-sew — fins and head are attached live as you crochet the shell
- Fast — most makers finish in about an hour once they know the technique
- Beginner-friendly — only basic stitches and one small technique (front-loop/back-loop ridges) needed
- Budget-friendly — one turtle uses well under 100g of yarn total
- Great for gifting or selling — quick enough to batch-make for markets or last-minute presents
Materials
- Chenille/plush yarn in two colors — one for the body, one for the shell (about 70–80g total)
- 4.5mm crochet hook (adjust based on your yarn and tension)
- 12mm safety eyes
- Stuffing (polyester fiberfill or your preferred filling)
- Yarn/tapestry needle (for weaving in ends only)
- Stitch marker
Abbreviations
- SC – single crochet
- SC INC – single crochet increase
- HDC – half double crochet
- INV DEC – invisible decrease
- MC – magic circle
A Quick Tip Before You Start
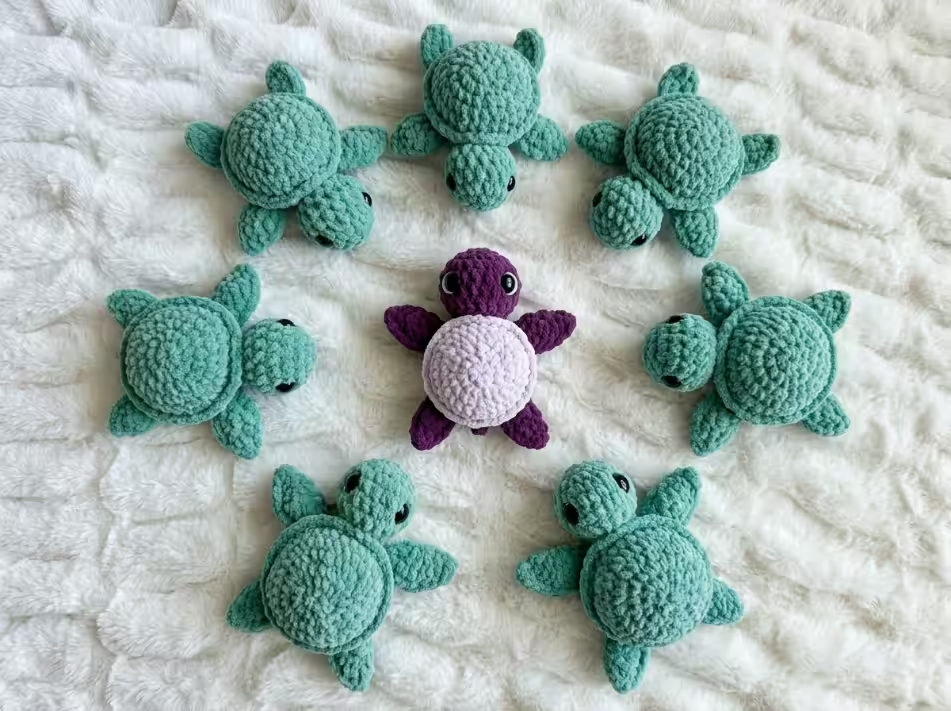
This pattern starts the shell and head with 8 stitches in the magic circle instead of the usual 6 you’ll see in most amigurumi. That extra couple of stitches keeps the base flatter and rounder, so the shell doesn’t end up with a pointed, cone-like top.
The Pattern
Fins (make 4)
Using body color:
Round 1: MC, 8 HDC. Slip stitch to close, chain 1.
Round 2: HDC INC around (16 sts). Slip stitch to close, chain 1.
Fold the circle flat. Working through both layers together, HDC twice into the first pair of stitches, then HDC the next 6 pairs together as single stitches, then HDC twice into the last pair (10 sts total across the folded fin). Fasten off, leaving a short tail if you like — you won’t need to sew it.
Head
Using body color:
Round 1: MC, 6 SC
Round 2: SC INC around (16)
Round 3: SC 1, SC INC 1 repeat around (24)
Rounds 4–5: SC around (24)
Round 6: SC 1, INV DEC 1 repeat around (16) — insert the safety eyes now, spacing them about 7 stitches apart between rounds 4 and 5
Round 7: INV DEC around (8)
Round 8: SC around (8)
Stuff lightly, fasten off, and weave in the end.
Body & Shell
Start with shell color:
Round 1: MC, 6 SC
Round 2: SC INC around (16)
Round 3: SC 1, SC INC 1 repeat around (24)
Round 4: SC 2, SC INC 1 repeat around (32)
Rounds 5–7: SC around (32)
Round 8: SC in front loops only around (32) — then switch to body color
Round 9 — the assembly round: Working this time in the back loops of round 7 (not round 8), you’ll attach all the pieces as you go:
- SC 2
- Attach first fin (through its first two stitches) with SC
- SC 7
- Attach second fin with SC
- SC 1
- Attach the head using slip stitches through 4 of its 8 stitches
- SC 1
- Attach third fin with SC
- SC 7
- Attach fourth fin with SC
- SC 2 to complete the round
Round 10: SC 14, then SC the bottom 4 stitches of the head/neck into place, SC the remaining 14
Round 11: SC 2, INV DEC 1 repeat around (24) — begin stuffing the body now, making sure the head and neck are well-filled first
Round 12: SC 1, INV DEC 1 repeat around (16)
Round 13: INV DEC around (8)
Close the remaining opening, fasten off, and weave in your ends. Your turtle is done!
Tips for Attaching the Fins
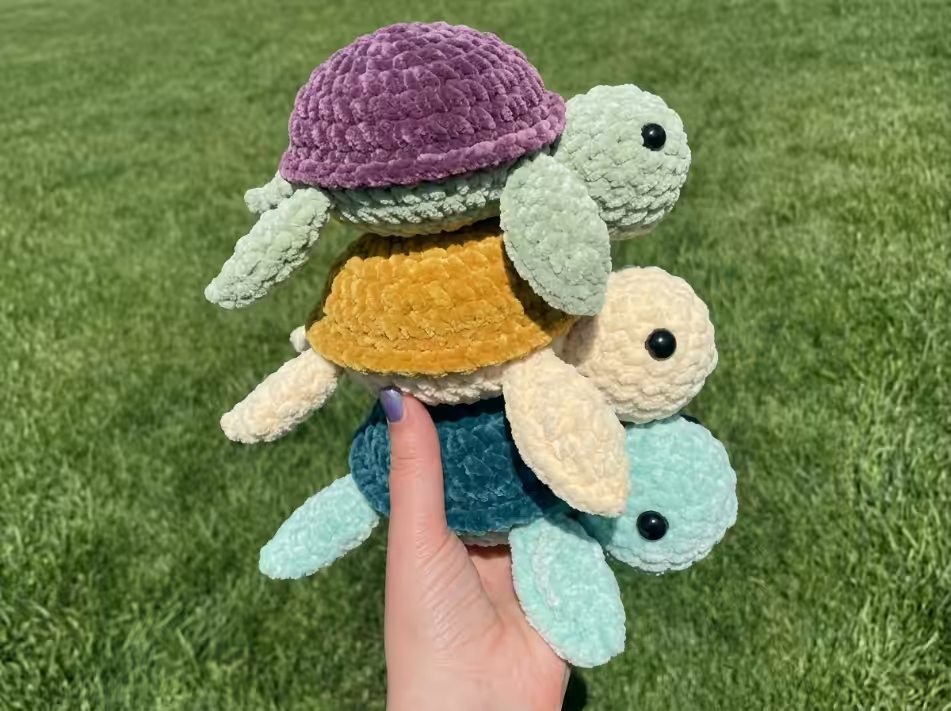
The fold line of each fin should sit facing the back of the turtle. Attach through the last two stitches on the right-side fins (working end-stitch first, then the second-to-last), and through the first two stitches on the left-side fins (starting from the very end). Always work through the fin first, then through the shell, before completing your single crochet — this keeps the fin sitting neatly on top of your stitches so you can check your row is unbroken underneath.
Tips for Attaching the Head
Flatten the neck opening so the eyes sit level and centered. The top four stitches get joined with slip stitches (hook through the turtle’s stitch, then the matching stitch on the head, pull through). The bottom four stitches, worked on the next round, are simply single crocheted in as part of the row. Stuff the neck firmly before you close it up — it’s much harder to add stuffing once the head is attached.
FAQ
Do I need to use plush/chenille yarn?
It’s not required, but the pattern was designed around it. Switching to a smooth worsted-weight yarn will give you a noticeably smaller, less squishy turtle, and the shape may look slightly different.
Can I sell what I make from this pattern?
Yes! Just please give credit for the design if you’re selling online.
My shell doesn’t have a ridge where it meets the body — what went wrong?
That ridge comes from crocheting into the back loops only on round 8/9. If you crocheted into both loops, the shell will lie flatter without that raised edge.