Looking for a small project you can finish in one sitting? This crochet card holder pattern is exactly that. It’s just two little rectangles joined together, and the only stitch you need is the double crochet.
It’s also one of the most useful things you can make with a single skein’s worth of yarn. Tuck it in your bag for your ID and bank cards, or make a few and hand them out as gifts. And if you’ve been wanting to practice your double crochet without committing to a giant blanket, this is a great place to do it.
Grab your hook and let’s get started.
What You’ll Learn
- How to make a slip knot and a foundation chain
- How to work double crochet (dc) in rows
- How to join two crochet pieces with a simple seam
- How to turn a corner neatly
Materials
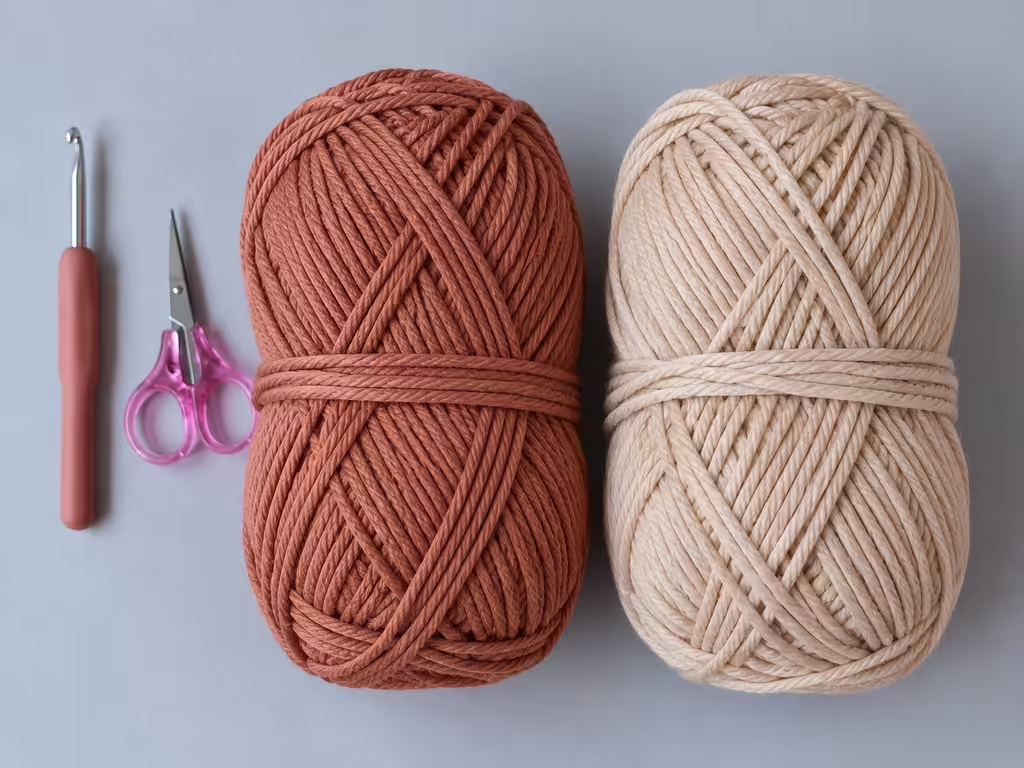
- Medium-weight yarn (worsted, category 4). A light or solid color is easiest to work with because you can clearly see each stitch.
- Crochet hook, 5.0 mm or 5.5 mm. An inline hook (sharp tip, deep throat) grabs the yarn easily, which really helps when you’re just starting out.
- Scissors
- Tapestry needle for weaving in the ends
Abbreviations (US Terms)
- ch: chain
- dc: double crochet
- yo: yarn over
- st(s): stitch(es)
Before You Start
The card holder is made from two identical rectangles, so you’ll repeat the same instructions twice. Each one is worked in simple back-and-forth rows. The turning chain (ch 1) at the end of each row does not count as a stitch.
Don’t worry if your first few rows look a little wobbly. Crochet is forgiving, and everything tends to even out once the two pieces are joined.
Step-by-Step Instructions
Step 1: Make a Slip Knot
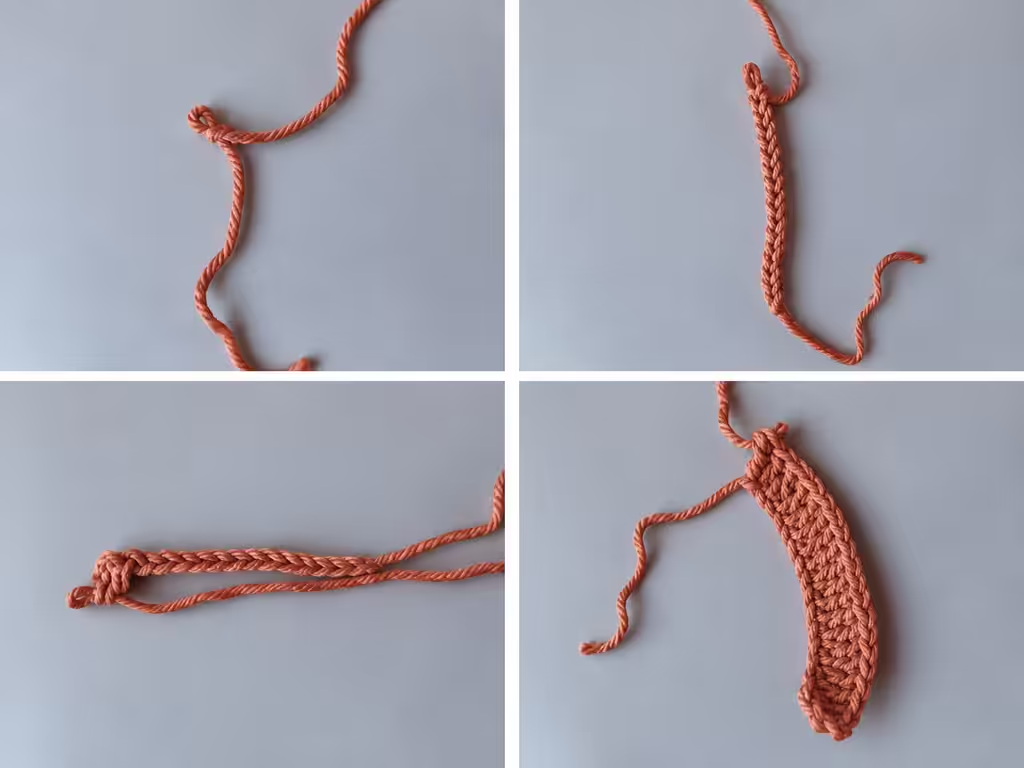
- Lay your yarn so the tail hangs to your left and the working yarn to your right.
- Wrap the working yarn around two fingers to make a loop, then slide it off.
- Pinch the spot where the yarn crosses.
- Push your hook through the loop, catch the working yarn, and pull it through.
- Tug both strands gently to snug the knot up around the hook, leaving it slightly loose.
Tip: Keep your index finger lifted while you work. It helps guide the yarn and keeps your tension steady.
Step 2: Chain 21
Make 21 chains. To chain, wrap the yarn over your hook (front to back) and pull it through the loop on your hook. Repeat until you have 21.
This chain becomes the bottom edge of your card holder. If you’d like a different size, hold a card next to your chain and add or remove stitches until it’s a little wider than the card.
Step 3: First Row of Double Crochet
- Skip the first chain next to your hook. Insert your hook into the second chain from the hook.
- Yarn over and pull up a loop (3 loops on the hook).
- Yarn over and pull through the first two loops (2 loops left).
- Yarn over again and pull through the last two loops. That’s your first double crochet.
- Work 1 dc into each remaining chain across.
You should end up with 20 dc. Try to keep your stitches relaxed, since tight stitches make the next row harder to work into.
Step 4: Rows 2 to 14
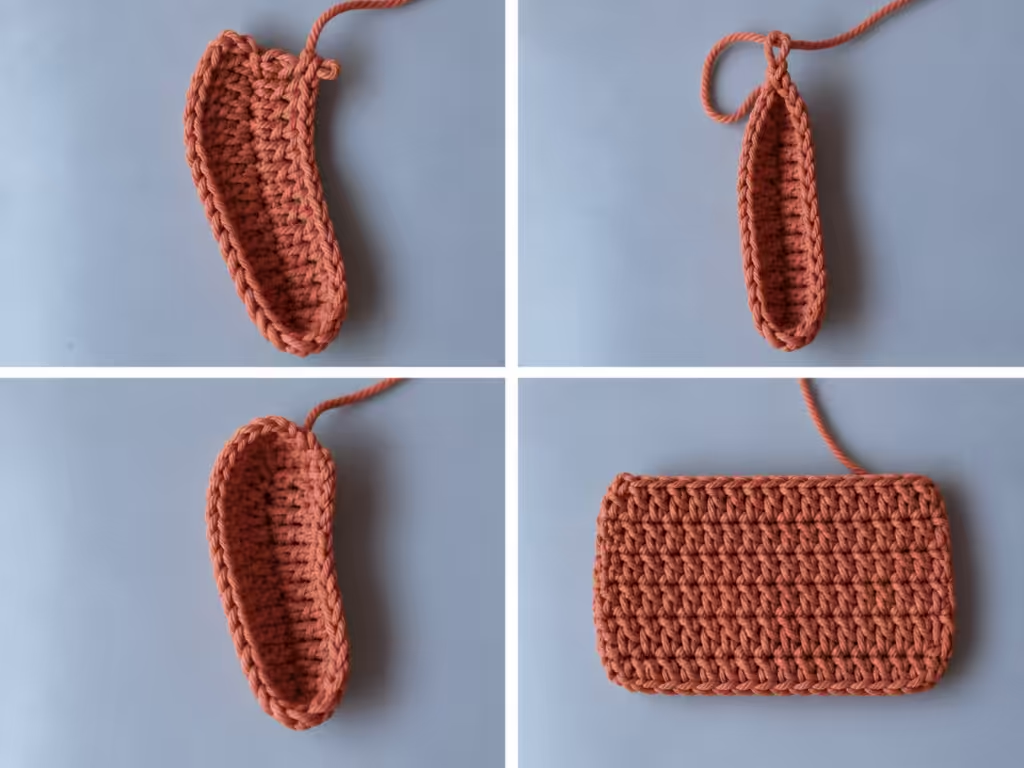
- Ch 1 and turn your work.
- Work 1 dc into each stitch across (20 dc). Insert your hook under the top two loops of each stitch, right beneath the “V”.
- Repeat these two steps until you’ve completed 14 rows total.
Pattern at a glance: 20 dc, ch 1, turn. Repeat to row 14.
Hold a credit card against your work now and then. If the panel looks a bit short, add a row or two.
Step 5: Finish the First Panel and Make a Second
Once row 14 is done, cut the yarn, leaving a tail of about 6 inches, and pull it through your last loop to lock it off. Thread the tail onto your tapestry needle and weave it into the back of the stitches. Trim any leftovers.
Now repeat Steps 1 to 5 to make a second panel that matches the first. If your rectangles curl a little at the edges, that’s normal. They’ll flatten out after joining.
Step 6: Join the Panels
- Place the two panels on top of each other with the wrong sides together, so the right sides face outward.
- Tuck any remaining yarn tails inside so they don’t show along the seam.
- If you want the seam to stand out as a design detail, join with a contrasting color.
- Insert your hook through the first stitch of both panels at the same time. Pull up a loop of the new yarn.
- Work 1 dc through both layers to join them.
- Continue down the first side, working 1 dc through both layers in each stitch or row-end.
Step 7: Turn the Corners
When you reach the bottom corner, work 3 dc into the same corner stitch (through both layers). This little trick lets the seam curve around the corner instead of pulling tight.
Then continue in the same way:
- 1 dc in each stitch along the bottom edge
- 3 dc in the next corner
- 1 dc in each row-end up the other side
Stop when you reach the top. Leave the top edge open, since that’s where your cards will slide in.
Optional Crochet Bow Decoration
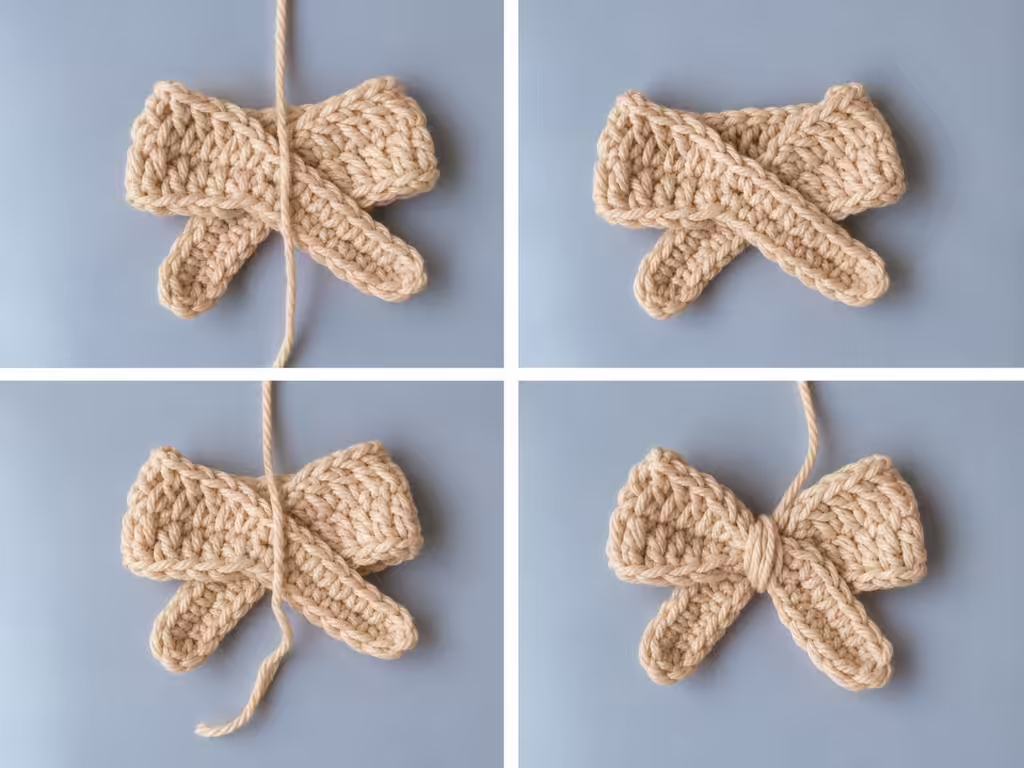
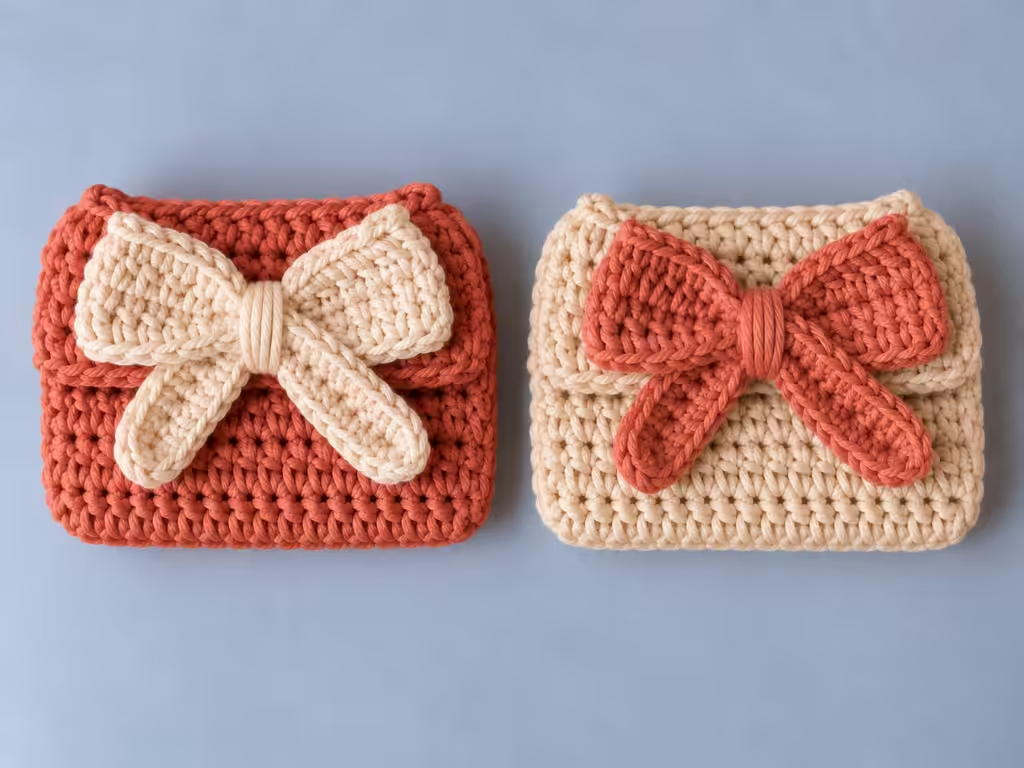
Want to give your crochet card holder a cute and feminine touch? Add a small crochet bow to the front of the card holder as an optional decoration. You can make the bow in a contrasting color, such as cream, beige, dusty pink, or sage green, and sew it securely onto the front of the holder. This simple addition turns the basic card holder into a charming handmade accessory and makes it a lovely gift idea.
Step 8: Fasten Off
Cut the yarn, pull it through the last loop, and weave in the end with your tapestry needle. Give the whole thing a gentle tug to even out the stitches, then slide in your cards. You’re done!
Tips for a Neater Card Holder
- Watch your stitch count. Count your stitches at the end of every few rows. It’s easy to gain or lose one at the edges.
- Use the same hook for both panels. A tiny change in tension can leave you with two panels of different sizes.
- Size it to your cards. If you carry a thick stack of cards, add a few extra stitches to the foundation chain and a couple more rows.
- Block lightly if needed. If the edges curl, a light steam or a damp press with the panels laid flat can help.
Easy Ways to Make It Your Own
- Use two different colors for the front and back panels.
- Crochet a simple border of single crochet around the opening for a more finished look.
- Sew on a small button and add a chain loop closure to keep everything secure.
- Make it a set. Stitch up a matching coin pouch or keychain from the same yarn.
Common Mistakes (and Quick Fixes)
My panel is getting wider or narrower. You’ve probably added or skipped a stitch at the edge. Count your stitches, and make sure your last dc goes into the top of the previous row’s last stitch.
My seam looks lumpy. Try a smaller hook for the joining round, or make sure you’re going through both loops of each stitch on both panels.
My cards don’t fit. Add a couple of stitches to the chain next time, or make the panel taller by adding rows.
FAQ
What yarn is best for a crochet card holder?
A smooth worsted-weight cotton or acrylic is a solid choice. Cotton is sturdier and holds its shape for daily use, while acrylic is soft and comes in lots of colors.
Can beginners make this pattern?
Yes. If you can chain and work a basic double crochet, you have all the skills you need.
How long does it take to crochet?
Most beginners can finish it in an afternoon. With a bit of practice, you may finish it faster.
How many cards will it hold?
That depends on your yarn and how tightly you stitch, but most versions hold a handful of standard cards comfortably.
Can I make it bigger?
Absolutely. Add stitches to the foundation chain for extra width, and extra rows for extra height. Just keep the same joining method.
Final Thoughts
There’s something really satisfying about finishing a project this quick, and this card holder is a great one to have in your back pocket. It’s simple, useful, and makes a thoughtful handmade gift.
If you make one, I’d love to see it. Leave a comment below or pin it to your crochet board. And if you’re hungry for more beginner-friendly patterns, keep an eye on the site for the next one.
Happy stitching!