If you’ve ever finished a crochet plushie and stared at a pile of loose arms, legs and ears, dreading the sewing, you’re not alone. I’ve been there. The stitching always seems to take longer than the crocheting itself, and one crooked ear can ruin hours of work.
That’s why no-sew miniature plushies have become my favorite kind of project. Everything is worked in one go, the pieces grow out of the body, and when you fasten off there’s nothing left to attach. Tiny, cute and done in an evening.
In this guide I’ll walk you through what makes these little plushies so special, the supplies that make life easier, the small habits that give a neat finish, and the mistakes I see most often. At the very end of the article you’ll find the video tutorial to crochet along with.
What Exactly Is a No-Sew Plushie?
A no-sew plushie is an amigurumi where the limbs, ears, tails or other details are crocheted directly onto the body, or worked as part of it, instead of being made separately and stitched on afterward.
Some designs use color changes to build the face, and others make the legs by working stitches straight out of the body. The result is a small, sturdy toy with clean lines and no visible seams.
The word “miniature” matters too. These plushies are usually palm-sized or smaller. They work up quickly, use very little yarn, and are ideal for keychains, bag charms, desk buddies, and small gifts.
Why You’ll Love Making Them
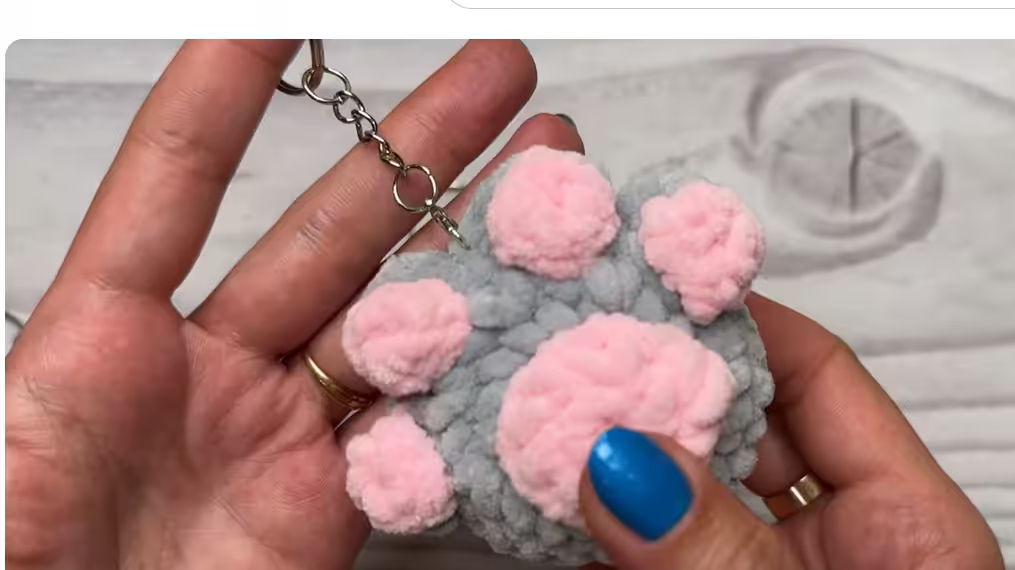
Here’s what keeps me coming back to this style:
- They’re fast. Most take an hour or two, so you get the satisfaction of a finished project the same day.
- They use up leftovers. A tiny plushie needs only a small amount of yarn, so your scrap basket finally gets a purpose.
- They’re beginner-friendly. With no assembly stage, there’s no room for the usual placement mistakes.
- They make thoughtful gifts. A handmade mini that fits in a pocket is easy to give and hard to forget.
- They sell well. If you do craft markets, small plushies are affordable, easy to display, and quick to restock.
What You’ll Need
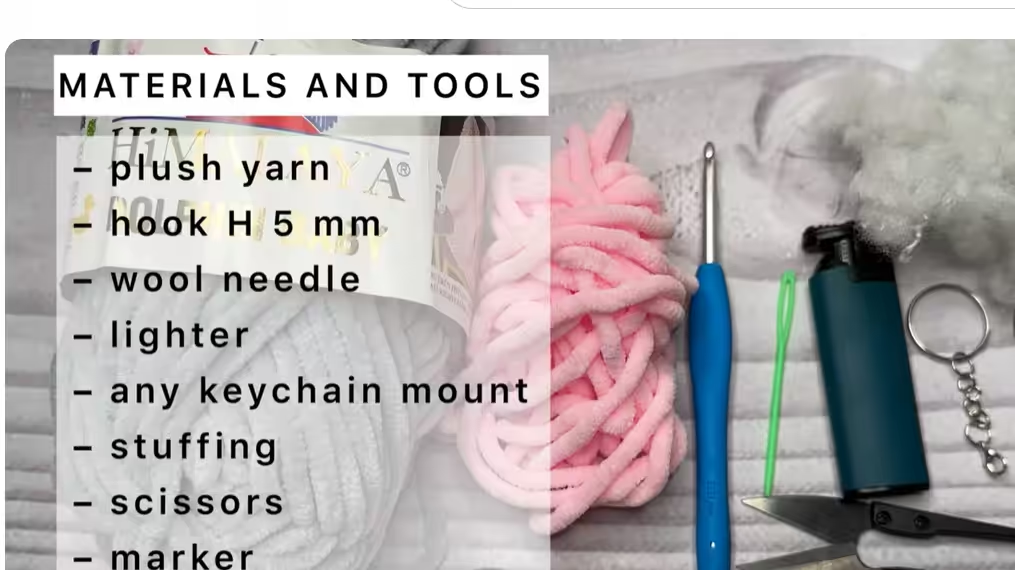
You don’t need a big supply list. Here’s the basic kit:
- Yarn. Soft, smooth yarn gives the cutest result. Chenille and plush yarns give a squishy, cuddly texture, while cotton gives a firmer look with crisp stitches.
- A crochet hook. Pick one that’s a little smaller than the yarn label suggests. Tighter stitches stop the stuffing from showing through.
- Toy stuffing. Polyester fiberfill is the standard choice, and a small amount goes a long way.
- Safety eyes or embroidery thread. Small eyes in the 6 mm to 9 mm range suit most minis. For toys meant for babies, embroider the face instead.
- A yarn needle. Even a no-sew plushie needs one for weaving in ends and adding tiny details.
- A stitch marker. Most minis are worked in a continuous spiral, so you’ll want to mark the start of each round.
- Small scissors. Sharp, pointed ones make cleaning up the ends much easier.
A quick tip: keep a chopstick or a pencil close by. It’s the easiest tool for pushing stuffing into small corners like ears and feet.
Choosing the Right Yarn
This is the question I get asked the most, so here’s the honest answer: it depends on the look you want.
Chenille and plush yarn gives you the soft, fluffy feel that most people picture when they think of a cuddly toy. It hides small imperfections, which is great news for beginners. The downside is that stitches are harder to see, so go slowly.
Cotton yarn gives you defined stitches and a tidy, almost sculpted look. It’s easier to count, but it’s less forgiving when your tension isn’t even.
Acrylic yarn sits in the middle. It’s inexpensive, comes in a huge range of colors, and works well for everyday projects.
If you’re new to amigurumi, I’d suggest starting with a smooth acrylic or cotton, then trying plush yarn once you feel confident.
Small Habits That Give a Neat Finish
These are the little things that make a handmade plushie look like it came from a shop.
Crochet tightly. Tension is everything in amigurumi. If you can see gaps in the fabric, drop down a hook size.
Stuff as you go. For tiny pieces, add stuffing before the opening gets too small. Once it closes, you won’t be able to fix it.
Stuff firmly, not endlessly. The body should feel full and hold its shape, but if the stitches are stretching and the color underneath is showing, you’ve gone too far.
Use the invisible decrease. It closes the shape neatly and avoids the little bumps that regular decreases can leave.
Place the eyes before you close up. Try them in different spots and step back to check. A tiny change in spacing changes the whole expression.
Weave in ends carefully. Take the tail through the inside of the body and out at a different spot before trimming. It stays hidden and won’t unravel.
Common Mistakes (and How to Avoid Them)
I’ve made every one of these, so no judgment.
- Losing count in the spiral. Use a stitch marker on every round, and count your stitches at the end of each one until it becomes second nature.
- Working with a hook that’s too big. It’s the number one cause of visible stuffing and floppy shapes.
- Adding the eyes too late. Safety eyes need to be fixed before the piece is closed and stuffed.
- Over-stuffing the small parts. Feet and ears need only a tiny amount, or they’ll look lumpy.
- Rushing the finish. The last few minutes, closing the hole, hiding the tail, and shaping the body, decide how polished the plushie looks.
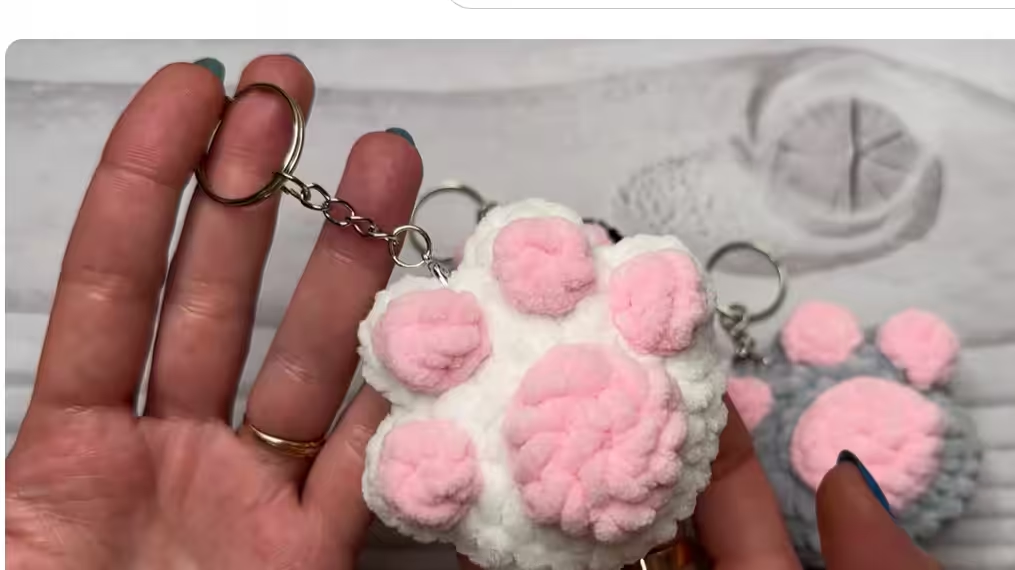
Ways to Use Your Finished Minis
Once you’ve made one, you’ll want to make ten. Here are some ideas for what to do with them:
- Clip one to a backpack or a purse as a charm.
- Hang them from a car mirror or a keychain.
- Line a few up on your desk as tiny companions.
- Add one to a gift box or a birthday card.
- Make a matching set for a baby shower or a party favor.
- Put together a little collection for a craft market stall.
You can also make a whole family of them in different colors. Once you learn the basic shape, changing the yarn colors and the small details is enough to turn one plushie into an entire series.
Quick Checklist Before You Start
Before you press play on the video, run through this list:
- Yarn and hook are ready
- Stuffing and a stitch marker are within reach
- Safety eyes or embroidery thread are set aside
- Yarn needle and scissors are on the table
- You’ve picked a comfortable spot with good light
Frequently Asked Questions
Are no-sew plushies good for beginners?
Yes. Since there’s no assembly, you avoid the most frustrating part of amigurumi. If you know how to make a magic ring, single crochet, and a basic decrease, you’re ready.
How long does a miniature plushie take?
Most take between one and two hours, depending on your speed and the yarn you choose. Plush yarns tend to work up faster than thin cotton.
Can I sell what I make?
Many crocheters do, and small plushies are popular at craft fairs and online shops. It’s good practice to credit the original designer if you’re using someone else’s pattern, and to check what the designer allows before selling.
Are they safe for children?
For babies and toddlers, skip safety eyes and small parts and embroider the face instead. Make sure all ends are securely woven in and the stuffing can’t escape.
What if my plushie turns out lopsided?
Don’t worry, it happens to everyone. Often a light squeeze and a little reshaping while stuffing fixes it. Next time, check your stitch count at the end of each round.
Can I change the colors?
Absolutely. Swapping colors is the easiest way to make a design your own.
Ready to Make Yours? Watch the Video Tutorial
Now that you know what to prepare and what to watch out for, it’s time to pick up your hook. The video below walks you through the pattern step by step, so you can pause, rewind, and crochet along at your own pace.
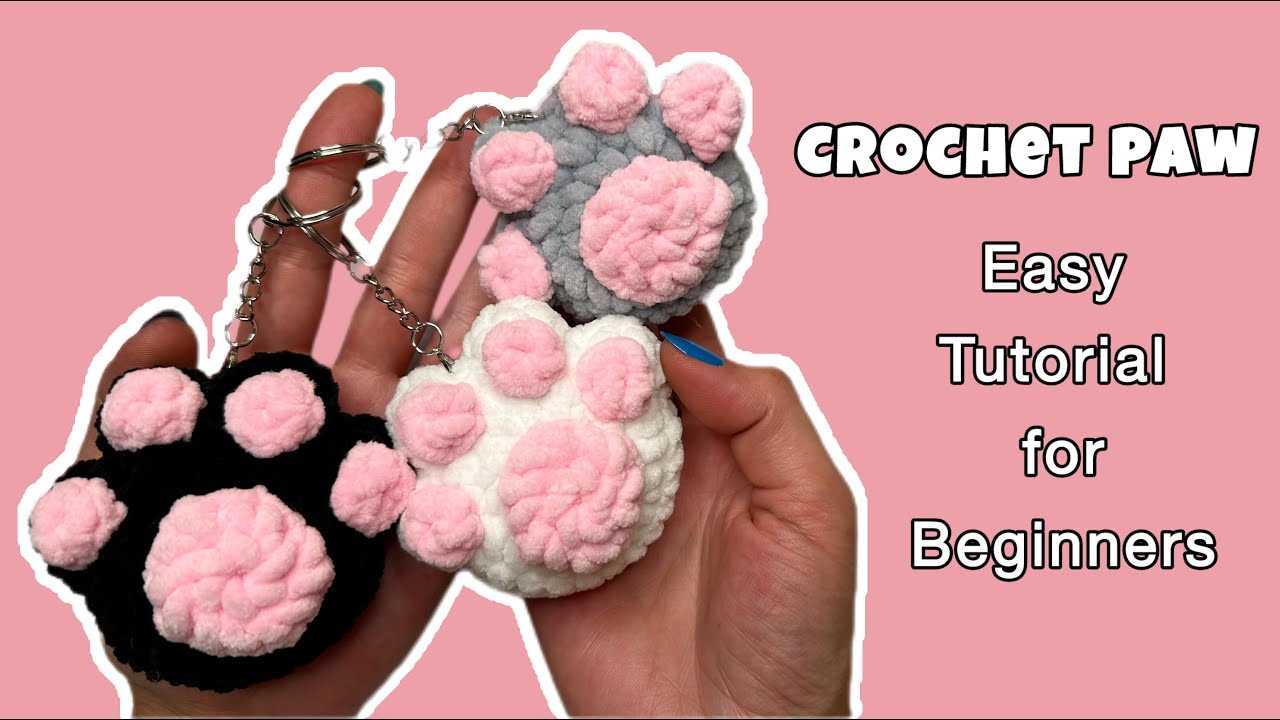
Design and tutorial by Crochet with CloverToys. Go show them some love by subscribing if you enjoy their work.
If you make one, I’d love to see it! Share your finished plushie on Pinterest and tell me which colors you chose. And if this guide helped you, save it for later so you can come back to it whenever you start a new project.