Some projects make you smile before you even finish them. This no-sew cow amigurumi is one of those. It has a round, squishy body, a sweet little face, and a shape that practically begs to be hugged.
And here’s the best part: you don’t have to sew a single piece.
If you’ve ever finished a cute amigurumi only to dread the assembly stage (wobbly heads, crooked legs, ears sewn on at different heights), you already know why no-sew patterns are so popular. Everything is worked directly onto the body, so the finishing is clean, quick, and beginner-friendly.
Why You’ll Love This No-Sew Cow
- No sewing at all. Parts are crocheted directly onto the body, so there’s less frustration and a much neater result.
- Beginner-friendly. If you know the magic ring, single crochet, increases, and decreases, you’re ready.
- Quick to make. It’s a perfect weekend project, or even an evening project once you get comfortable.
- Small and giftable. It makes a lovely handmade gift for kids, farm-lovers, and anyone who collects cute crochet animals.
- Great for using up scraps. You only need small amounts of yarn, so your stash will thank you.
What Is a No-Sew Amigurumi, Exactly?
In a traditional amigurumi, you crochet the head, body, limbs, and ears separately, then stitch them together with a needle. It works, but it’s also where many beginners get discouraged.
In a no-sew design, the pieces are built as you go. You work in the round, then continue stitching to create the next part from the same piece. The result is a sturdier toy with fewer loose ends and no visible seams.
Materials You’ll Need
You don’t need much to get started:
- Yarn in white (or cream), black, and a soft pink or beige for the nose area
- A crochet hook suited to your yarn (a smaller hook than the label suggests gives tighter stitches, which keeps the stuffing from showing)
- Polyester fiberfill for stuffing
- Safety eyes (or embroidered eyes if the cow is for a small child)
- A stitch marker
- Scissors and a yarn needle for weaving in ends
Tip: Cotton yarn gives crisp, defined stitches. Soft acrylic or milk cotton gives a plusher, cuddlier cow. Both work beautifully.
Tips for a Perfect Cow
- Crochet tightly. Tight stitches hide the stuffing and give your cow a firm, professional shape.
- Stuff as you go. Add small amounts of fiberfill gradually, so the shape stays smooth and there are no lumpy spots.
- Mark your first stitch. A stitch marker saves you from losing count when you work in the round.
- Place the eyes before closing. Safety eyes can’t be added once the piece is fully stuffed and closed, so decide the placement first.
- Embroider the face last. A tiny smile and little nostrils add so much personality. Take your time here.
Make It Your Own
Once you’ve made your first cow, try switching things up:
- Use brown or black yarn for a different breed
- Add a tiny flower or bell for a spring look
- Make it in pastel pink or lavender for a fantasy cow
- Turn it into a keychain by adding a small ring on top
- Make a whole farm set: cow, pig, sheep, and chicken
Watch the Video Tutorial
Ready to make your own? The video below walks you through every step, so you can pause, rewind, and crochet along at your own pace. Seeing the stitches made in real time makes the whole process much easier, especially if you’re new to amigurumi.
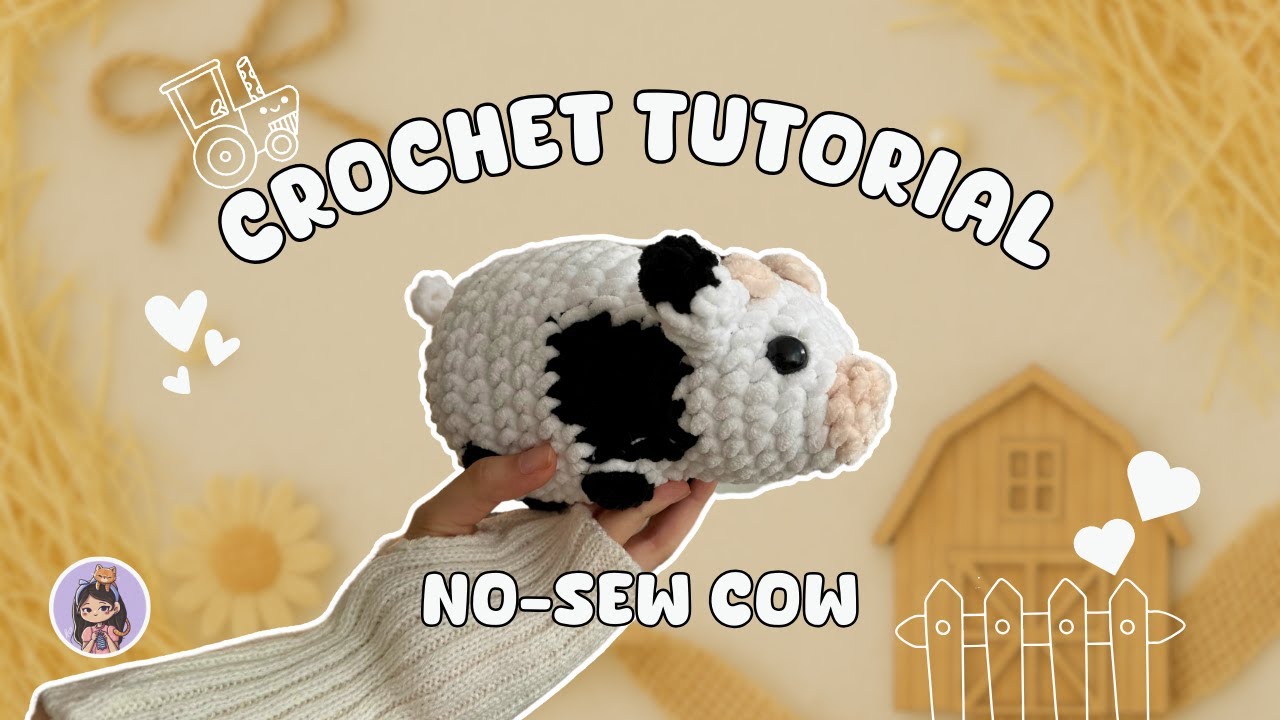
Image and Video tutorial by My_universe64 , all credit for the design goes to the original creator.
Final Thoughts
A no-sew cow amigurumi is proof that cute doesn’t have to be complicated. With a little yarn, a hook, and a bit of patience, you’ll have a charming handmade cow ready to gift, display, or keep for yourself.
If you make one, I’d love to see it! Pin this tutorial to your Pinterest board so you can find it again, and come back and tell me how yours turned out.
Happy crocheting!