Learn how to crochet a mini rose bouquet with this easy, beginner-friendly pattern , perfect for gifts, keychains, or a bouquet that lasts forever.
Why Crochet a Mini Bouquet?
Fresh flowers are beautiful, but they last a week at most. A crochet mini bouquet solves that problem entirely — once it’s made, it stays exactly as perfect as the day you finished it, with no water, no wilting petals, and no vase to clean out later. It’s also one of the most forgiving flower projects to start with: the “rose” technique used here is really just a strip of ruffled stitches rolled into a spiral, so even a first attempt tends to look intentional rather than messy.
These little bouquets have become a favorite gift project because they’re fast, use very little yarn, and can be customized endlessly — swap the color palette for a wedding, a baby shower, or just a cozy fall arrangement, and the same basic pattern works every time.
What You’ll Need
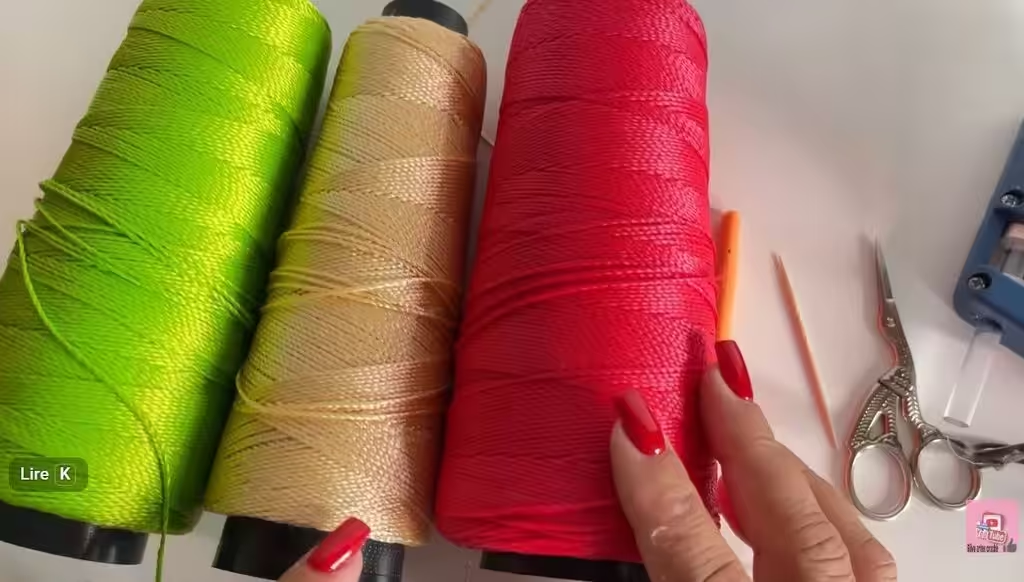
- Worsted weight (medium, 4) cotton or acrylic yarn in your rose color(s) — pink, red, cream, or a mix of shades all work well
- A small amount of green yarn for the leaves
- Beige, kraft-brown, or a color of your choice for the wrapper
- A 3.5mm crochet hook
- A tapestry needle for sewing pieces together
- Sharp scissors
- Optional: thin floral wire (18–22 gauge) to stiffen the stems, and a length of ribbon or twine for the finishing touch
Abbreviations Used
| Abbreviation | Meaning |
|---|---|
| ch | chain |
| sc | single crochet |
| dc | double crochet |
| sl st | slip stitch |
This pattern uses US crochet terms throughout.
Step 1: Crochet the Roses (make 3–5)
Chain 21.
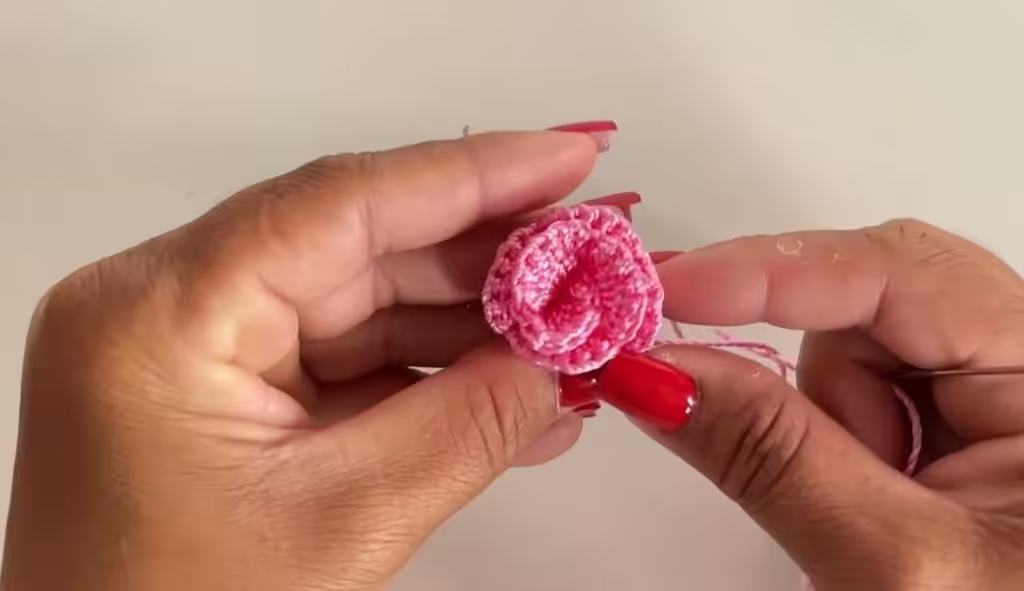
Row 1: Starting in the 2nd chain from the hook, work (sc, dc) in each chain across the row. This combination — a short stitch followed by a taller one — is what creates the natural ruffle along one edge of the strip.
Fasten off, leaving a long tail (about 12 inches) for sewing.
To shape the rose: Starting at one end of the strip, begin rolling it tightly into a spiral. Every full turn or so, take a few stitches through the base layers with your tapestry needle and tail yarn to lock the spiral in place. Keep the ruffled edge loose and facing outward — that’s what gives the finished rose its petal-like movement. Once you reach the end, stitch through the base a final time and weave in the tail.
Tip: if your rose looks too tight and closed, try loosening your roll slightly, or go up a hook size next time for a looser, ruffle-forward strip.
Step 2: Crochet the Leaves (make 6–10)
With green yarn, chain 7.
Row 1: Slip stitch in the 2nd chain from the hook, sc in the next 2 chains, work 3 dc in the last chain (this forms the pointed leaf tip), then continue working back down the opposite side of the same starting chain: sc in the next 2 chains, sl st in the last chain.
Fasten off and weave in the ends. Repeat to make as many leaves as you’d like — 2 per rose is a good ratio for a full look.
Step 3: Crochet the Wrapper
With beige (or your chosen wrapper color) yarn, chain 16.
Rows 1–8: Chain 1, turn, single crochet in each stitch across.
Fasten off, leaving a tail for sewing. Fold the finished rectangle into a cone shape and whip-stitch the side seam closed using the tail.
Step 4: Assemble the Bouquet
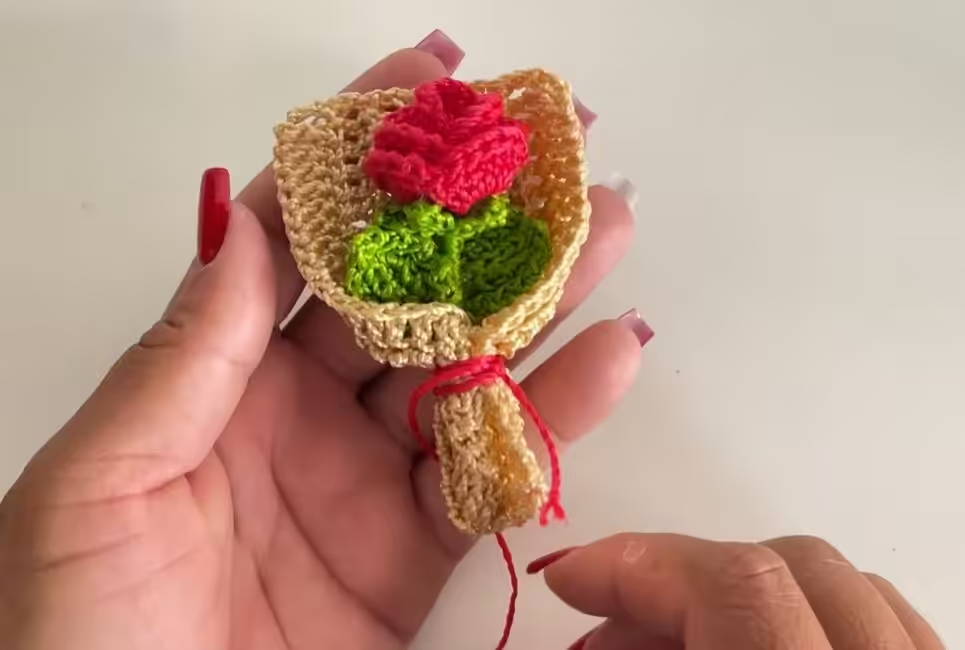
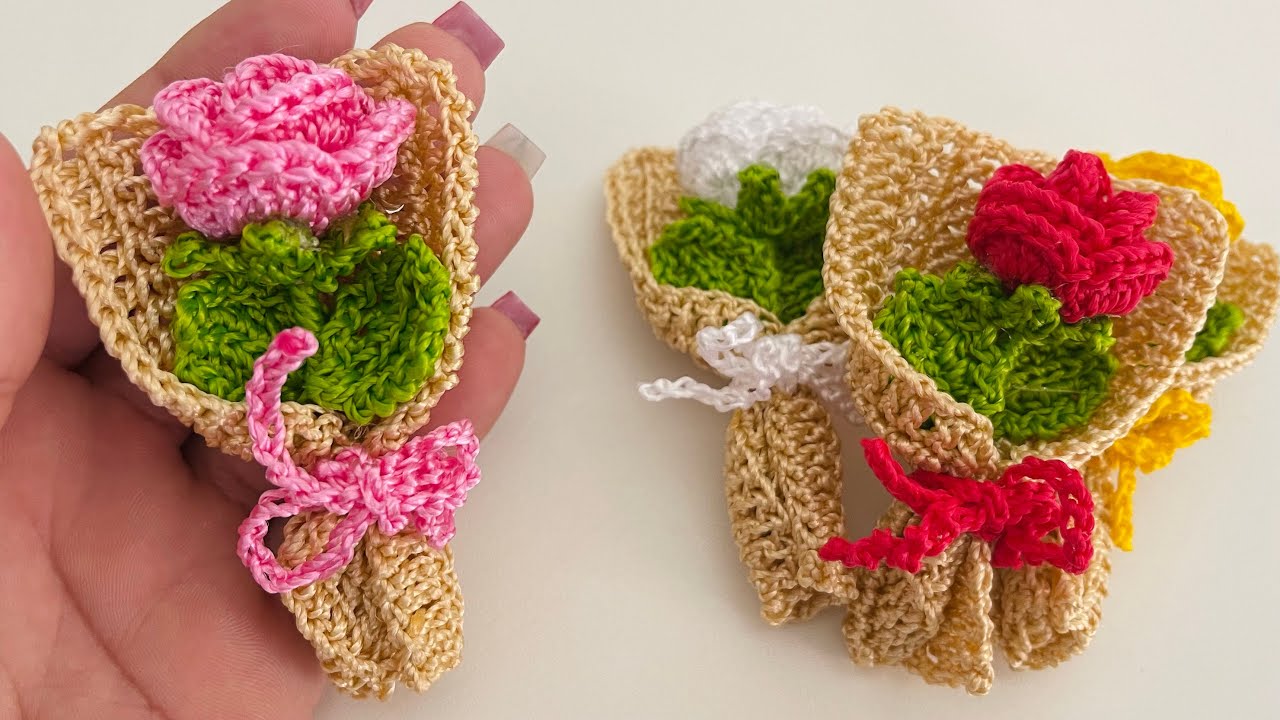
Arrange your roses and leaves inside the cone-shaped wrapper, adjusting the heights and angles until you like the composition. Stitch or hot-glue everything in place from the inside so nothing shifts.
If you want the bouquet to stand upright in a small vase, thread a short length of floral wire through the base of each rose before assembling, bending the end into a small hook so it doesn’t pull through. Finish by tying a ribbon or a length of twine around the base of the cone.
Troubleshooting & Tips
- Roses unraveling as you sew: stitch through more layers at once, and don’t be afraid to use extra thread — the base of the spiral won’t show.
- Wrapper looks too stiff or too floppy: adjust your hook size up or down slightly depending on how structured you want the cone to be.
- Want bigger roses: use a longer starting chain (try 30–35) and a chunkier yarn weight.
Creative Variations
- Ombre bouquet: use three shades of the same color, from palest to deepest, across your roses
- Lace-trimmed wrapper: swap the plain single crochet rectangle for a strip of crochet lace or purchased trim
- Keychain or bag charm: make a single rose and leaf, skip the wrapper, and attach a keyring loop to the base
- Seasonal colors: deep red and gold for fall, pastel shades for spring, white and green for a wedding favor
Ways to Use Your Crochet Mini Bouquet
- A handmade topper for a wrapped gift
- A long-lasting centerpiece in a small vase or jar
- Wedding or bridal shower favors
- A keychain or bag charm (single-rose version)
- A thoughtful, low-cost Mother’s Day or birthday gift
For the full step-by-step tutorial, check out this video by Silva Artes Crochê.
FAQ
How much yarn do I need?
Very little — a single mini bouquet with 3–5 roses uses less than one small skein of each color.
Can I make this with a different stitch pattern?
Yes — any strip of stitches with a ruffled or wavy edge will roll into a similar rose shape. This is a flexible technique, not a fixed recipe.
Is this pattern beginner-friendly?
Yes. It only uses chain, single crochet, double crochet, and slip stitch, and there’s no working in the round required.