Some projects are practical. Some are pretty. And once in a while, you find one that is both, and this crochet phone bag is exactly that.
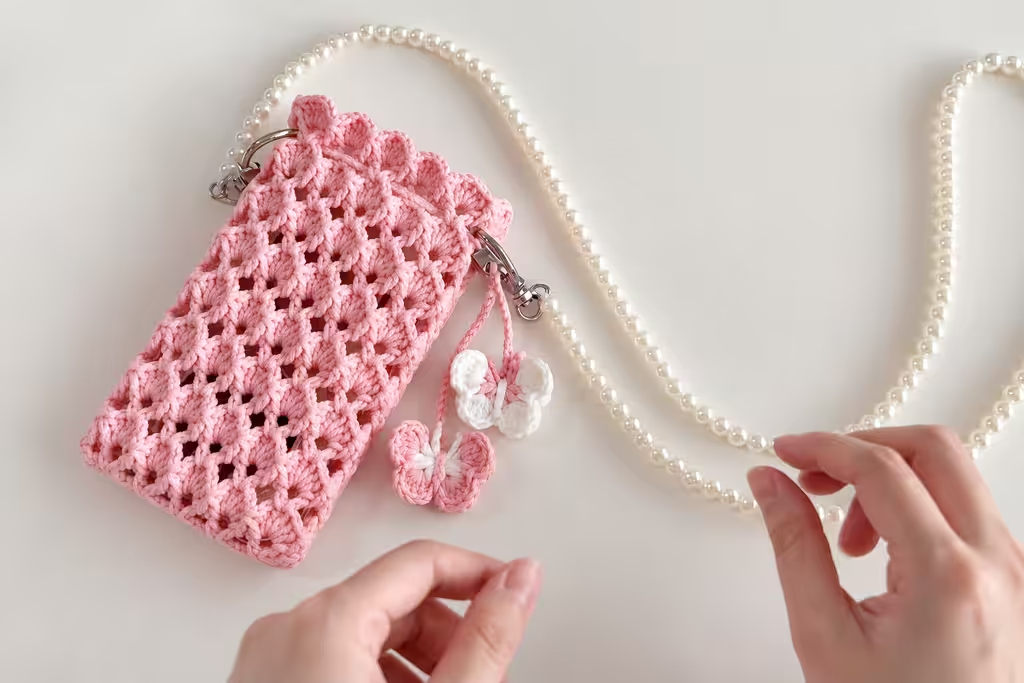
Picture a little openwork pouch made of soft scalloped shells, hanging from a string of pearls, with two tiny butterflies fluttering at the bottom. It looks like something you’d find in a boutique, yet it’s made with one small ball of yarn and a simple repeating stitch.
If you’ve been looking for a quick, giftable project that still feels special, this is it. Below, I’ll walk you through what makes this bag so charming, what you’ll need, how to choose your colors, and the little details that make the finished piece look polished. At the end of the post, you’ll find the full video tutorial to crochet along with.
What Makes This Crochet Phone Bag Special
Most phone pouches are solid and plain. This one stands out for three reasons:
- The openwork shell stitch. The fans create a lacy, airy texture with little scalloped edges, so the bag feels delicate without being complicated.
- The pearl strap. A pearl bead chain turns a simple pouch into a dressy little crossbody. It’s the detail that makes people stop and ask, “Where did you buy that?”
- The two butterflies. Small crocheted butterflies dangle from a cord at the bottom. They’re quick to make and add a playful, handmade touch.
Pick Your Colors
The tutorial shows two lovely versions, and they give very different moods.
Soft solid pink. The openwork stitch really shines in a single color. The pattern of shells and gaps is easy to see, and the result is sweet and classic.
Pastel variegated yarn. A multicolored yarn in pink, lilac, mint and cream creates soft vertical stripes with no color changes on your part. It’s a great choice if you love a dreamy, rainbow-sorbet look.
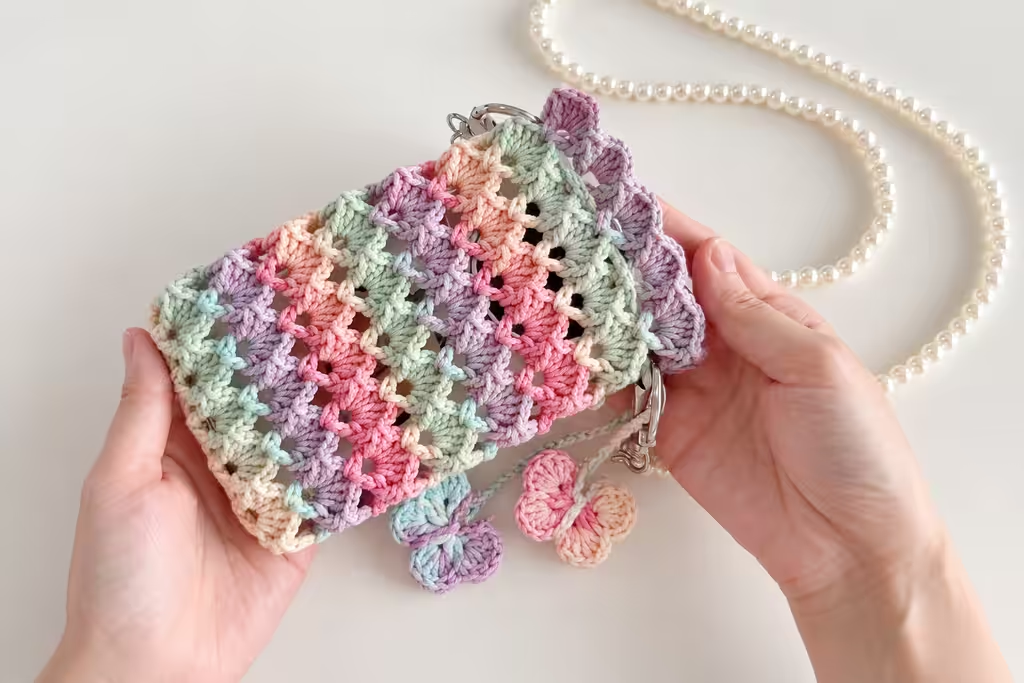
Want something different? Try cream for a bridal or boho feel, or a deep color like burgundy for an autumn version.
Materials You’ll Need
Check the video for the exact yarn and hook used. [Adjust to match the video.]
- Yarn: A smooth cotton or cotton blend works beautifully. It shows off the stitch definition and holds its shape well. Choose a soft, light-colored yarn if you want the openwork to stand out.
- Crochet hook: [Hook size from the video.] If you’re between sizes, go smaller so the fabric stays firm.
- Pearl bead chain: For the strap, plus a couple of small metal rings and lobster clasps so the strap can clip on and come off easily.
- Tapestry needle and scissors: For weaving in ends and assembly.
- Stitch marker: Handy for keeping your place.
A Few Tips Before You Start
Measure your phone first. Check its height, width and thickness, with your case on. Then compare it to the finished size of the bag. [Finished size from the video.] Openwork fabric stretches a little, which is forgiving, but you still want a comfortable fit.
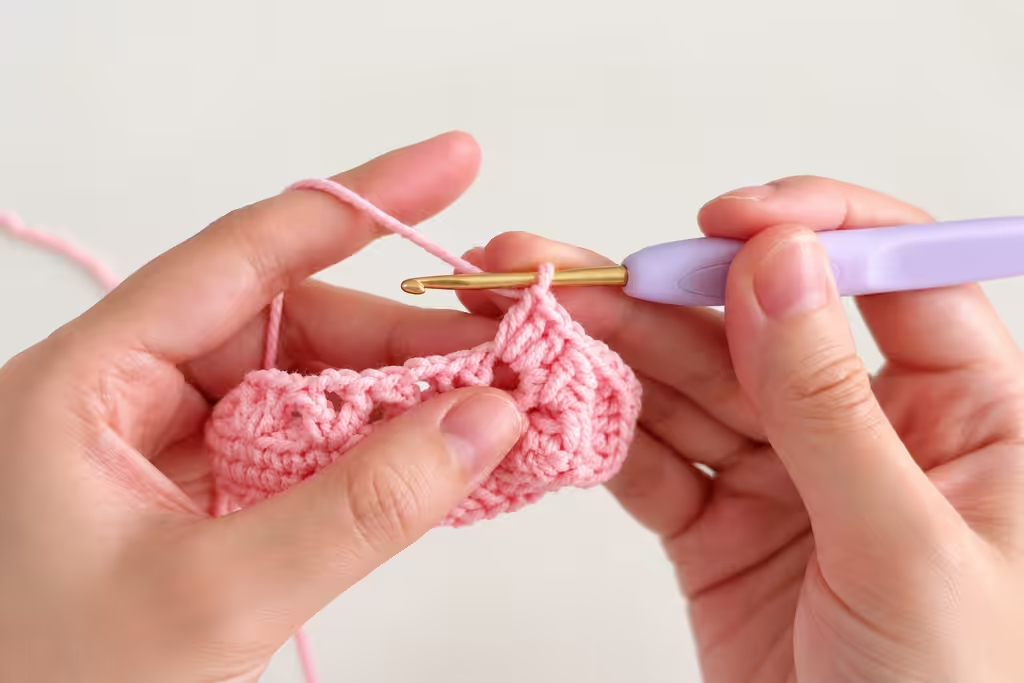
Keep your tension even. Shell stitch looks best when every fan is the same size. If your shells look uneven, relax your hand and aim for the same loop height each time.
Swatch if you change the yarn. A quick swatch tells you whether your bag will end up too snug or too loose.
Don’t skip blocking. A light steam or a gentle dampen-and-shape makes the scallops open up and lie flat. It’s the quickest way to get a professional finish.
Attaching the Strap and Clasps
The pearl chain is what gives this bag its elegance, so it’s worth taking your time here.
- Attach the metal rings securely to the top corners of the bag, going through the fabric more than once so they hold.
- Clip the pearl chain on with the lobster clasps. Being able to unclip the strap means you can also carry the bag as a clutch or swap in a different strap.
- Try the length on before you finish. A longer chain sits across the body, while a shorter one works as a shoulder bag.
One honest note: pearl chains look delicate, but they’re also a bit heavy once your phone is inside. Fasten the rings well and check them from time to time.
Adding the Little Butterflies
The butterflies are the finishing touch, and they are quick to make. Crochet two small ones, attach each to a thin cord, and hang them from the bottom of the bag. They add movement and a bit of personality, and they’re a fun way to use up tiny scraps of yarn.
You can match them to the bag or go for a contrasting color. White butterflies on a pink bag look especially sweet.
Common Mistakes to Avoid
- Pulling stitches too tight. Openwork needs a little breathing room. If the fabric feels stiff, try a slightly looser tension.
- Skipping the fit check. Try your phone in the bag before you attach the strap.
- Weak strap attachment. Phones are heavy. Reinforce the spot where the rings are sewn on.
- Rushing the weaving in. Openwork shows everything, so secure your ends well.
Make It Your Own
- Crochet a matching mini pouch for earbuds or lip balm.
- Swap the pearls for a colorful chain or a crocheted cord.
- Add a small tassel or a tiny flower in place of the butterflies.
- Make a set in different colors for friends and family. These make lovely handmade gifts.
Frequently Asked Questions
Is this crochet phone bag beginner-friendly?
If you’re comfortable with basic stitches, you can do it. The shell stitch is a repeating pattern, so once you find the rhythm it goes quickly.
Will my phone fall through the openwork?
No. The gaps are small and the fabric holds firmly. If you’d like extra protection, you can add a fabric lining.
How long does it take to make?
Most crocheters can finish it in an afternoon, depending on experience.
Can I use a different yarn?
Yes. Just check the fit with a swatch, and remember that thicker yarn gives a bigger bag.
Can I wash it?
Check your yarn label. Cotton is usually fine to hand wash and lay flat to dry. Remove the pearl strap first.
Watch the Full Video Tutorial
Ready to crochet your own? Here is the complete step-by-step tutorial from the creator 小师妹手作 (Xiao Shimei Shouzuo). Pause and rewind as often as you need, and follow along at your own pace.
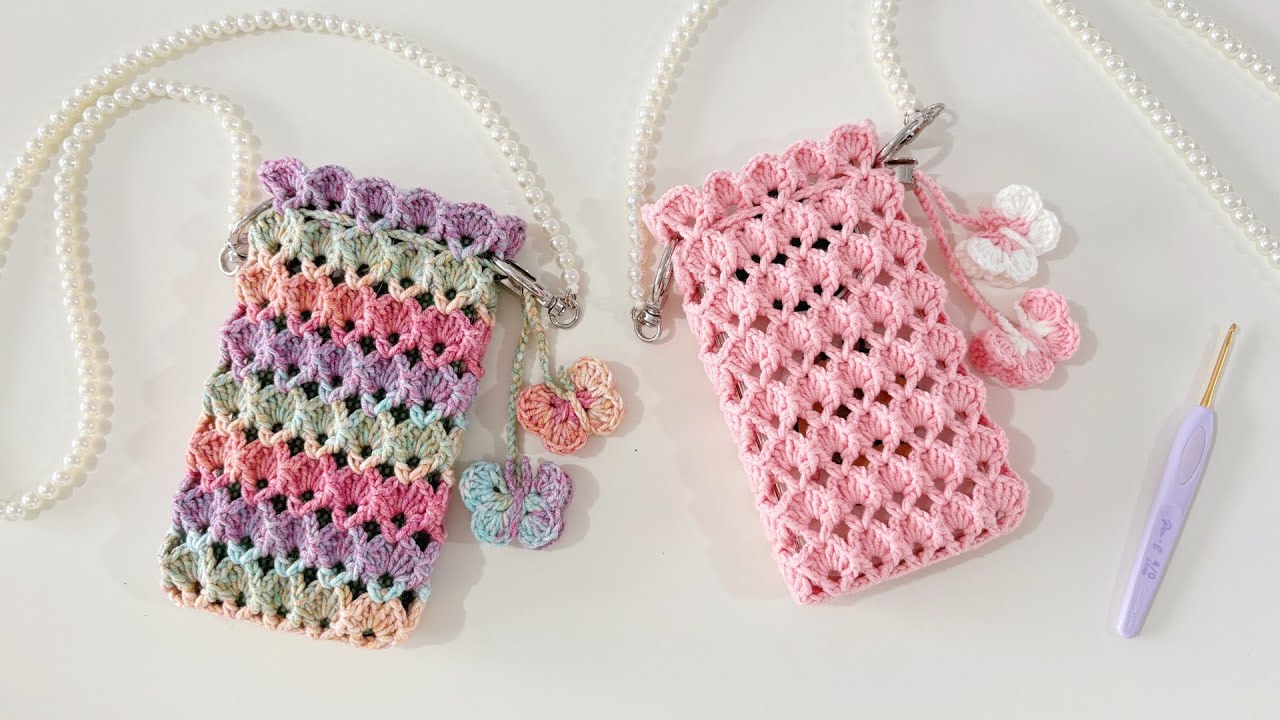
Video credit: 小师妹手作. If you enjoy the tutorial, consider subscribing to their channel to support the original creator.
I’d love to see your version! Tell me in the comments which color you chose, and save this post to Pinterest so you can find it when you’re ready to start.