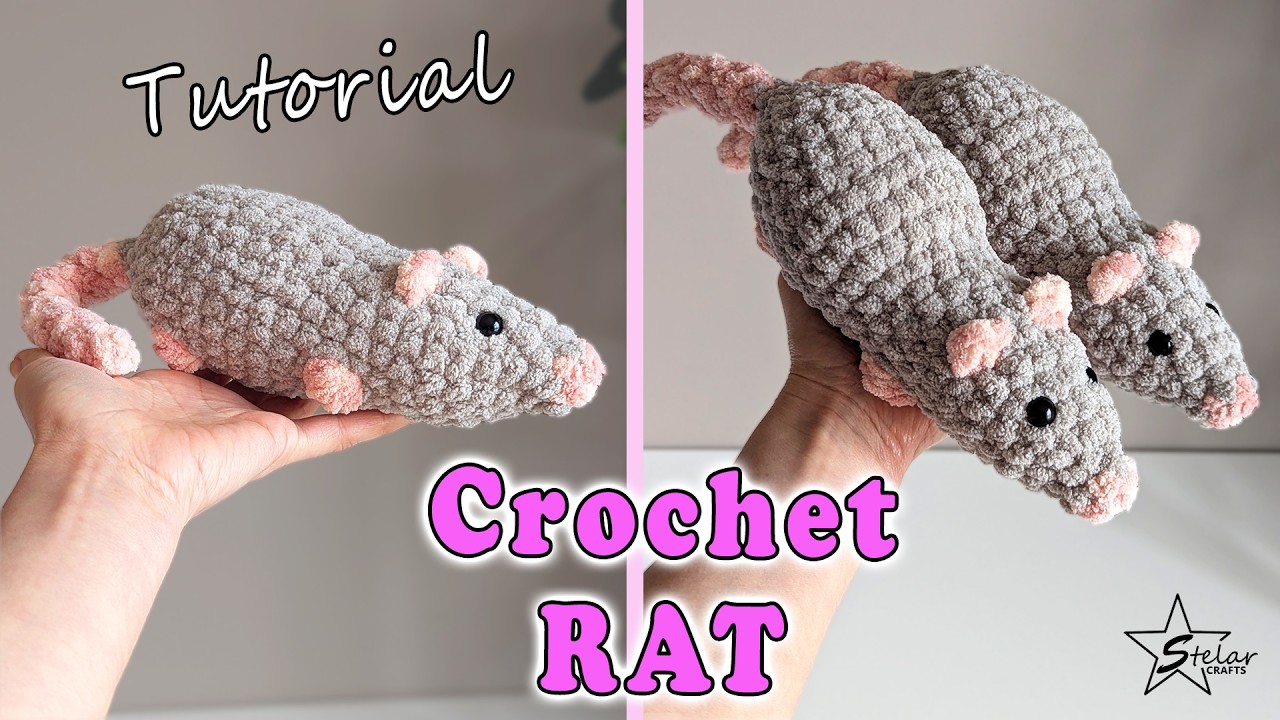
Meet your next favorite little crochet buddy: a sweet, pocket-sized rat that is worked almost entirely in one piece. No sewing, no wobbly limbs, and no frustrating assembly at the end.
If you have ever finished an amigurumi only to dread the sewing part, this project is for you. With the no-sew method, you build each part as you go, so the finished rat looks neat and clean from the very first try.
Why You’ll Love This Crochet Rat
- No sewing at all. Parts are crocheted directly onto the body, so there are no crooked ears or loose limbs.
- Beginner-friendly. If you know the magic ring, single crochet, increases, and decreases, you can make it.
- Quick to finish. It works up fast, so it is perfect for an evening or a lazy weekend.
- Great for gifting. Make it as a keychain, a desk buddy, or a handmade surprise for a friend who loves cute animals.
- Scrap yarn friendly. A small amount of yarn is enough.

What Makes a No-Sew Amigurumi Different?
In traditional amigurumi, you crochet the head, body, ears, and tail separately, then sew everything together. It takes patience, and the placement can easily end up uneven.
With a no-sew pattern, you add the extra parts by crocheting them onto the body, usually by working into the stitches or loops already there. The result:
- Cleaner, more secure joins
- Symmetrical ears and limbs
- Less time spent with a needle
- A smoother finish overall
Materials You’ll Need
- Yarn in the color of your choice. A soft, smooth cotton or acrylic works well.
- A crochet hook that matches your yarn. Choose a slightly smaller hook for tight stitches, so the stuffing doesn’t show.
- Polyester fiberfill for stuffing
- Safety eyes, or black embroidery thread if you prefer a safe option for little ones
- A stitch marker
- Scissors and a yarn needle (only for weaving in ends)
Skills to Know Before You Start
You don’t need to be an expert. Here is a quick checklist:
- Magic ring (also called magic circle)
- Single crochet (sc)
- Increase (inc) and decrease (dec)
- Working in continuous rounds
- Slip stitch to finish off
If any of these are new to you, don’t worry. The video shows each step slowly, and you can pause and rewind as often as you like.

Tips for a Neat, Professional-Looking Rat
Keep your tension tight. Tight stitches keep the stuffing from peeking through. If your fabric looks loose, go down a hook size.
Use a stitch marker every round. Spiral rounds have no visible start, so a marker saves you from losing count.
Stuff as you go. Add stuffing before the opening gets too small. Firm stuffing gives the rat a nicer shape, but don’t overfill or the stitches will stretch.
Place the eyes carefully. Pin the eyes in place and check the look before locking them. Moving them just a few stitches closer or farther apart changes the whole expression.
Close the final round with an invisible finish. Weave the tail through the last stitches, pull gently to close, and hide the end inside the body.

Make It Your Own
Once you have made your first rat, try some fun variations:
- A pink, gray, white, or brown version
- A tiny scarf or bow for a seasonal look
- A keychain loop on top
- A whole family of rats in different sizes, using thicker or thinner yarn
Frequently Asked Questions
Is this crochet rat suitable for beginners?
Yes. The no-sew method removes the hardest part of amigurumi, which is assembly, so it is a great first animal project.
What size will my rat be?
It depends on your yarn and hook. Thicker yarn makes a bigger rat, and thinner yarn makes a mini one.
Can I make this as a gift for a child?
Absolutely. For babies and toddlers, use embroidered eyes instead of safety eyes.
Can I sell what I make from this tutorial?
That depends on the creator’s terms. Check the video description before selling finished items, and always credit the designer.

Watch the Full Video Tutorial
Ready to start? Grab your yarn and hook, press play, and follow along step by step. Pause whenever you need to, and take your time.
Video tutorial by StelarCrafts. All design credit goes to the creator, so please show some love by subscribing to the channel.
Happy crocheting! If you make your own no-sew rat, I would love to see it. Share a photo and tag us, and don’t forget to save this pattern on Pinterest for later.