Some projects just make you smile the second they take shape. This chubby round cat is one of them. It’s a plump little ball of a kitty, with two brown bobble paws, sweet pointed ears and a lazy curled tail, and it works up in a single afternoon.
The body is crocheted in one piece from the top down, so there are no heads and bodies to join. The ears are worked straight onto the finished body, which means less sewing. Only the tail is made separately. If you’ve never made an amigurumi before, this chubby round cat crochet pattern is a gentle place to start. If you’ve been crocheting for years, it’s a great quick gift make, and it’s hard to stop at just one.
Grab your yarn and let’s make a cat.
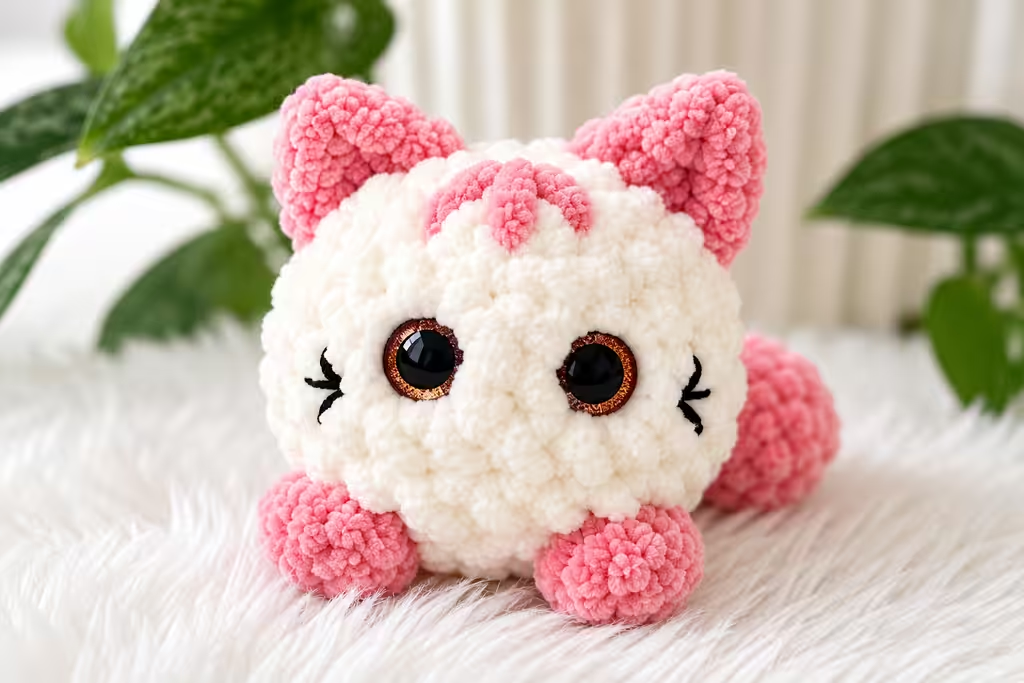
Materials Needed
- Yarn: DK weight (light worsted) yarn in a soft cotton blend or acrylic
- Cream (main color): about 11 g
- Brown (paws, ears and tail): about 6 g
- Hook: 3.5 mm (US E-4)
- Safety eyes: two 12 mm
- Polyester fiberfill
- Stitch marker
- Tapestry needle
- Scissors
Abbreviations Used
This pattern uses US crochet terms.
- MR: magic ring
- sc: single crochet
- inc: increase (2 sc in the same stitch)
- dec: invisible decrease (insert your hook into the front loops of the next 2 stitches, yarn over and pull up a loop, yarn over and pull through all 3 loops on the hook)
- hdc: half double crochet
- dc: double crochet
- ch: chain
- sl st: slip stitch
- BLO: back loop only
- st(s): stitch(es)
- Rnd: round
Pattern Notes
- The body and tail are worked in a continuous spiral. Don’t join and don’t turn. Mark the first stitch of each round with a stitch marker and move it up as you go.
- The ears are not made separately. You’ll work them directly into the finished body, between the rounds.
- The stitch count is in parentheses at the end of each round.
- Gauge doesn’t matter here, but your fabric should be tight enough that the stuffing doesn’t peek through. If it does, drop down a hook size.
- Put the safety eyes in between Rnds 5 and 6, before you go any further. Once the body is closed you can’t add them.
- Stuff the body firmly before the last decrease rounds.
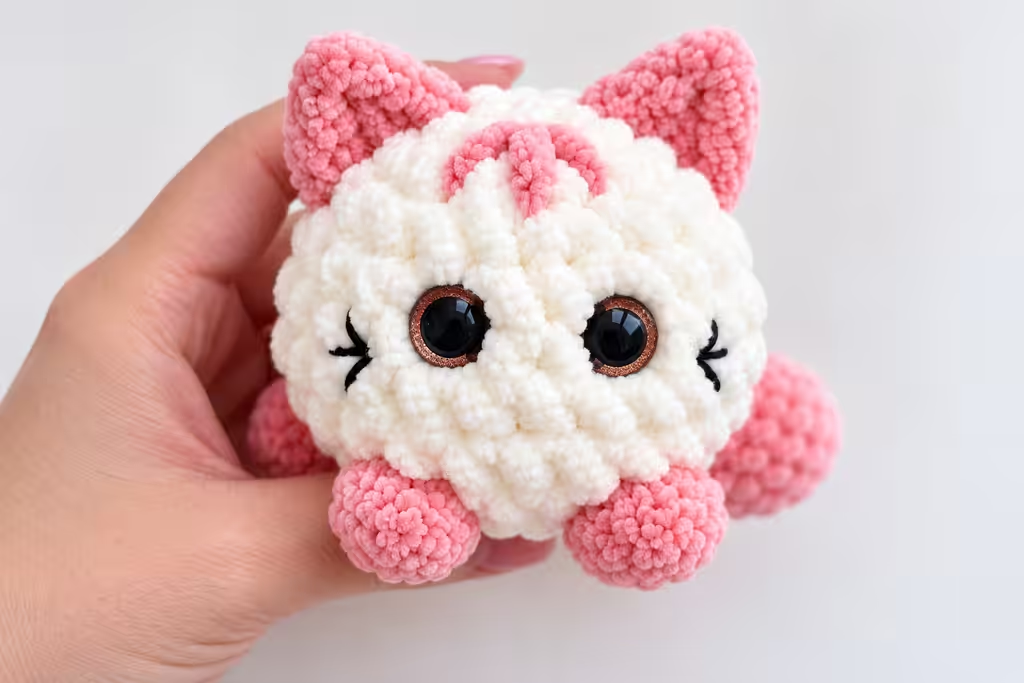
Pattern Instructions
Body (worked from top to bottom)
Use cream unless the pattern says brown.
Rnd 1: 6 sc in MR. (6)
Rnd 2: inc in every st around. (12)
Rnd 3: sc, inc, repeat 6 times. (18)
Rnd 4: 2 sc, inc, repeat 6 times. (24)
Rnds 5–8: sc in every st around. (24)
Insert the 12 mm safety eyes between Rnds 5 and 6, with 2 stitches between them.
Rnd 9: 2 sc, dec, 2 sc, dec, sc, (switch to brown) bobble stitch, (switch to cream) dec, sc, (switch to brown) bobble stitch, (switch to cream) dec, 2 sc, dec, 2 sc, dec. (18)
The two brown bobbles are the paws. They sit at the front of the body, one on each side of the face. To make a bobble, work 6 unfinished dc into the same stitch, then yarn over and pull through all the loops on your hook. Carry the unused color loosely inside the work, or cut and rejoin, whichever you prefer.
Rnd 10: sc, dec, repeat 6 times. (12)
Stuff the body firmly now.
Rnd 11: dec 6 times. (6)
Close the opening, fasten off and weave in the end.
Ears
Use brown. The ears are worked directly into the body, between rounds.
First ear (worked from the bottom up, toward the top of the head)
Count 4 stitches away from one eye, toward the side of the head. Join brown with a sl st between Rnds 3 and 4 at that spot.
- In the next stitch (between Rnds 2 and 3), work all of this into that one stitch: hdc, dc, ch 2, dc, hdc.
- In the next stitch (between Rnds 1 and 2), work 1 sl st.
Fasten off and weave in the end.
Second ear (worked from the top down)
Place it on the opposite side of the head, the same distance from the other eye.
- Start with 1 sl st between Rnds 1 and 2.
- In the stitch between Rnds 2 and 3, work hdc, dc, ch 2, dc, hdc, all into that one stitch.
- Work 1 sl st in the stitch between Rnds 3 and 4.
Fasten off and weave in the end.
Tail
Use brown.
Rnd 1: 6 sc in MR. (6)
Rnd 2: inc in every st around. (12)
Rnd 3: sc in every st around. (12)
Rnd 4: sc, dec, repeat 4 times. (8)
Rnds 5–8: sc in every st around. (8)
Stuff the tail lightly.
Rnd 9: dec 4 times. (4)
Close the opening, fasten off and leave a long tail of yarn for sewing.
Assembly
- Center the tail on the back of the body, around the level of Rnds 7 and 8.
- Thread the long yarn end onto your tapestry needle and sew the tail on with a whipstitch or mattress stitch, going all the way around the base.
- Weave in any remaining ends on the body and the tail.
That’s it. Give your cat a little squish and pick a good spot on the shelf.
Tips & Tricks
- Crochet tightly. A dense fabric gives you a round, plump shape that lasts. If you can see stuffing between the stitches, go down to a 3.0 mm hook.
- Do the eyes early. The body narrows quickly after Rnd 8, and the opening gets too small to work with. Put a sticky note next to your pattern as a reminder.
- Take your time with the bobbles. If a bobble pops out the back instead of the front, gently push it forward with your finger from the inside. A firm pull when you close it also helps.
- Go easy on the tail stuffing. A lightly filled tail curves and droops naturally, which gives the cat a relaxed look. A tail packed too full sticks straight out.
- Mark the ear spots first. Before you start either ear, pin a stitch marker at both spots and look at the cat from the front. Once they’re even, start crocheting.
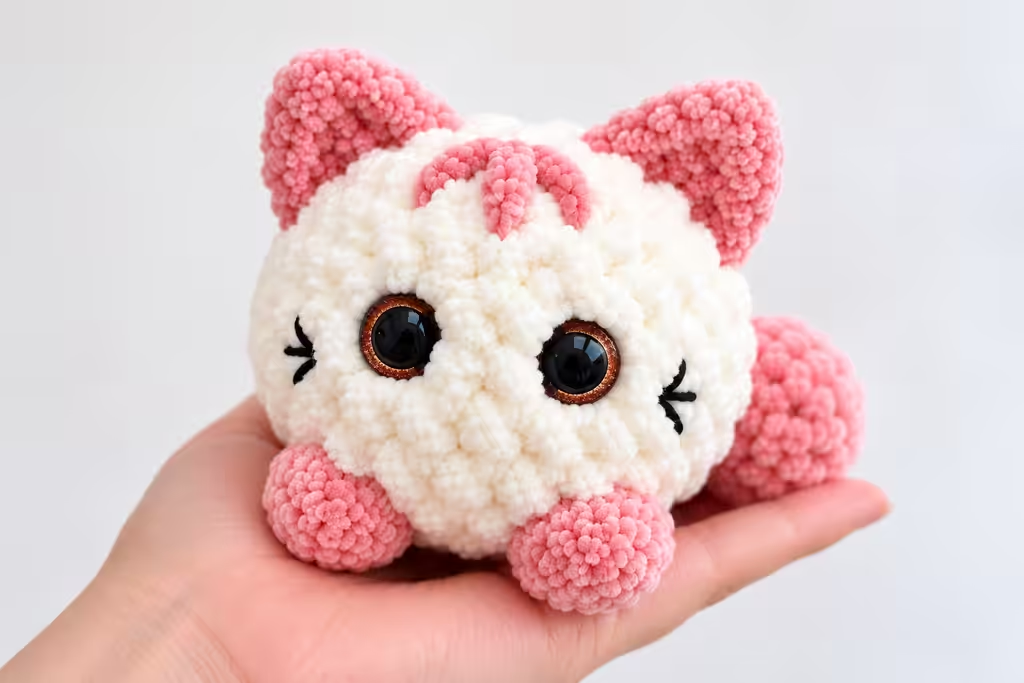
Frequently Asked Questions
Is this cat really suitable for beginners?
Yes. There’s no sewing except for the tail, and every round is simple. The bobble stitch and the ears are the only parts that need a bit of attention, and both are easy to learn.
Can I make it in different colors?
Of course! A gray body with white paws, or a ginger cat with cream paws, are both lovely. Just keep the same color roles: one main color for the body, one accent for the paws, ears and tail.
How can I make a baby-safe version?
Skip the plastic safety eyes and embroider the eyes with black yarn instead. Sew the tail on very securely, and check all seams before giving it to a small child.
What if I want a bigger cat?
Use a thicker yarn with a bigger hook (for example, worsted weight and a 4.5 mm hook). The stitch counts stay the same, but the cat will be larger. Use a little more yarn and stuffing than the amounts above.
How do I wash my finished cat?
Hand wash it gently in cool water with a mild soap, press out the water with a towel and let it air dry. Cotton and acrylic yarns both handle this well.
Final Thoughts
A squishy round cat is one of the quickest ways to make someone happy. Make it in your favorite colors, give it to a friend, or keep it on your desk. Once you’ve made one, you’ll probably want a whole basket of them.
If you make this pattern, I’d love to see it. Share your cat and pin this pattern to your Pinterest board so you can find it again.
You’ll Also Love (internal links)
- [Link to your no-sew cubic animals pattern]