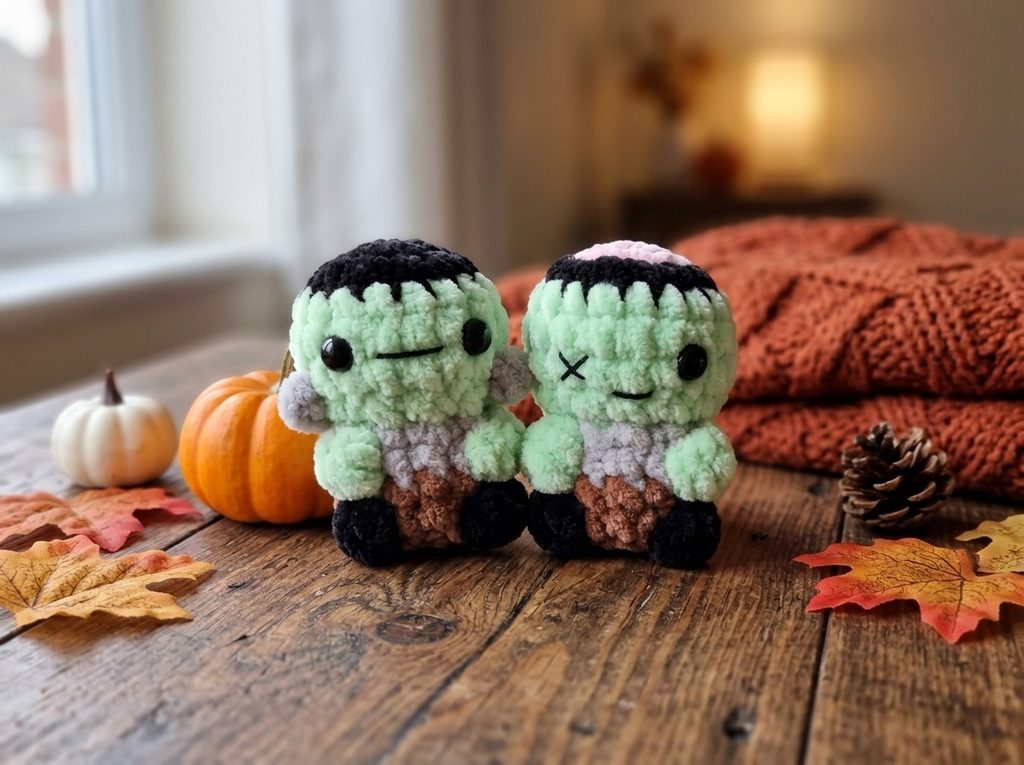
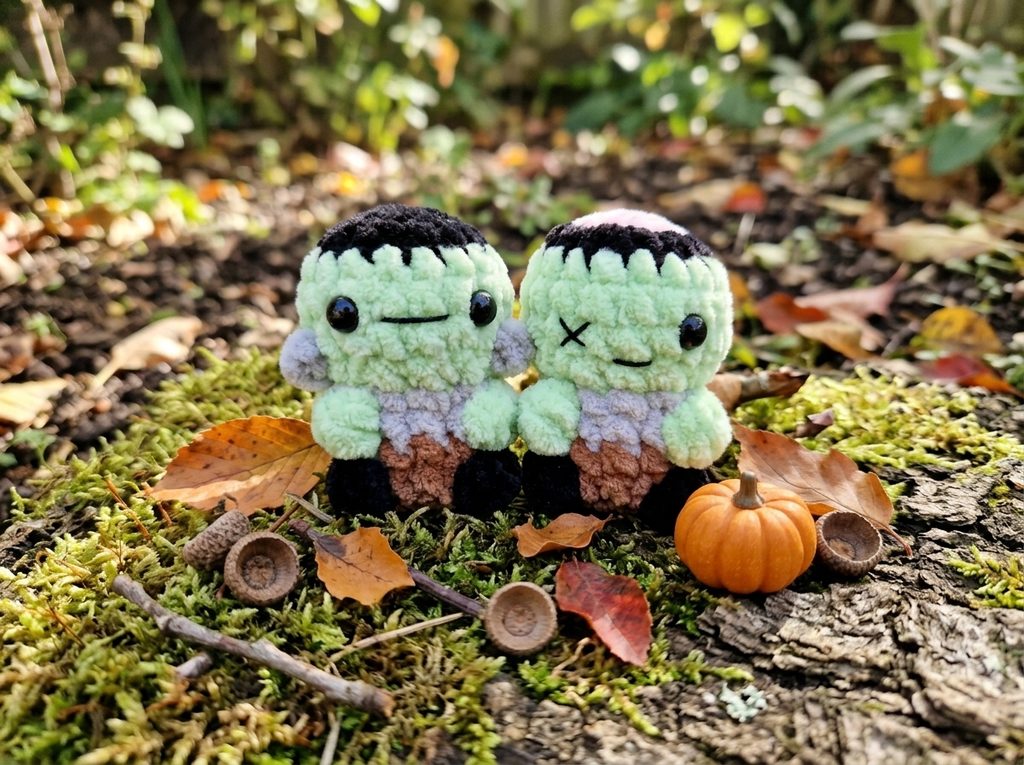
Some projects just make you smile the second you finish them. This little green guy with his flat black hair, grey sweater, and stubby brown boots is one of them. He’s small and quick to make, and he looks great sitting on a shelf, hanging off a bag, or tucked into a handmade gift box.
The best part is that he’s worked in one piece, from the top of the head down to the feet. There’s no sewing for the body. The hands and shoes are made with tiny bobble stitches, so he practically builds himself as you go. If you’ve made a few amigurumi before, you’ll feel right at home. If you’re still getting comfortable with color changes, he’s a fun way to practice.
Why You’ll Love This Pattern
- One piece, no sewing. Hands and shoes come from bobbles, not separate parts.
- Small and fast. A relaxed evening or two is usually enough.
- Great stash buster. You only need small amounts of four colors.
- Perfect for gifting. He fits in a card, a stocking, or a spooky-season treat bag.
- A good color-change lesson. You’ll practice switching yarn mid-round and working bobbles in a contrasting color.
Materials
- Small amounts of DK or sport weight cotton or acrylic yarn in black, green, light grey, and brown
- A crochet hook that suits your yarn (going down one hook size keeps the stuffing from peeking through)
- A pair of small safety eyes
- Fiberfill stuffing
- Black embroidery floss or thin black yarn (4 ply) for the mouth
- Yarn needle
- Scissors and a stitch marker
Abbreviations (US Terms)
- ch: chain
- sc: single crochet
- inc: increase (2 sc in the same stitch)
- invdec: invisible decrease
- sc2tog: single crochet 2 together (regular decrease)
- FLO: front loop only
- bo: bobble stitch
- sl st: slip stitch
- st(s): stitch(es)
- R: round
- Numbers in parentheses show your stitch count at the end of the round.
Before You Start
This pattern is worked in a continuous spiral, so use a stitch marker to keep track of the beginning of each round. A few notes will make things much smoother:
- Color changes happen on the last yarn over of the previous color, so the new color is already on your hook when the next round begins. This keeps the transition neat.
- The contrast bobbles are made in a different color from the round they sit in. After each one, cut that yarn and knot the two ends together on the inside to lock it in.
- A cleaner head: if you’d like to avoid carrying yarn, you can fasten off the black after R3 and rejoin the green with a standing single crochet. Do this for the head only. On the body it would shift your bobbles out of place.
The Pattern
Head
R1: Ch 2, 6 sc in the second ch from hook (6)
R2: [Inc] x6 (12)
R3: [Sc, inc] x6 (18). Change to green.
R4-R6: [Sc] x18 (18), 3 rounds
R7: [Sc, invdec] x6 (12). Change to light grey in the last st.
Body
R8: [FLO sc] x12 (12)
The bobbles in the next round are worked in green.
R9: 4 sc, FLO bo, 3 sc, FLO bo, 3 sc (12). Change to brown in the last st.
Face: Insert the safety eyes between R5 and R6, 3 sts apart. Stuff the head, and keep adding stuffing as you go. With black floss or 4 ply yarn, stitch a small mouth about 2 sts long, centered between the eyes.
R10: [Sc] x12 (12)
The bobbles in the next round are worked in black.
R11: 4 sc, FLO bo, 3 sc, FLO bo, 3 sc (12)
R12: [Sc, invdec] x4 (8)
Cut the yarn, leaving a tail, and pull it through the last stitch. Thread the tail through the front loops of the final round, pull tight to close, and hide the end inside the body.
Tip: if the invisible decreases look a bit messy around the feet, try regular decreases (sc2tog) instead.
Neck Bolts
- On the right side of the head, insert your hook into a stitch between R6 and R7, about 1 stitch away from the eye.
- Place light grey yarn on your hook and pull a loop through.
- Ch 3, then sl st back into the same space.
- Fasten off, tighten the starting and ending tails gently, and weave in the ends.
- Repeat on the other side.
Tips for a Neat Finish
Keep your tension snug. Amigurumi looks best when the stitches are tight enough that no stuffing shows through. If your fabric looks gappy, drop down a hook size.
Stuff in stages. Fill the head firmly before closing in the body, then add small bits as you work down. This avoids lumps and keeps his shape even.
Place the eyes before stuffing. It’s much easier to lock the safety eyes in while you can still reach inside.
Mind the bobbles. Pull each bobble snug but not tight. If it puckers the fabric, loosen up just a little on the next one.
Hide your knots. Tying the contrast yarn ends together inside keeps the bobbles secure through plenty of squeezing and play.
Safety note. Safety eyes are not suitable for very young children. For a baby or toddler gift, embroider the eyes with black yarn instead.
Fun Ways to Customize Him
- Make a bride-style version with white hair streaks, or a funny monster in purple or blue instead of green.
- Add a tiny scar with a stitch of contrasting thread across the forehead.
- Turn him into a bag charm or keychain by attaching a small loop and a ring.
- Make a whole monster family in different color combinations.
- Use a thicker yarn and bigger hook for a bigger, huggable version (just remember to use larger safety eyes).
Frequently Asked Questions
Can I make this pattern as a beginner?
If you can do single crochet, increases, and decreases, you can make him. The bobbles and color changes are the only new skills, and the pattern is short enough to be a gentle introduction.
What if I don’t like invisible decreases?
Use regular sc2tog instead. The result is slightly less smooth, but it’s perfectly fine for a mini plush like this.
Why work the bobbles in the front loop only?
Working in the front loop leaves a tidy ridge behind, which lets the bobbles sit neatly on the surface and look like proper hands and shoes.
Do I need to sew anything?
Only the mouth, which is a few embroidery stitches. Everything else is crocheted in place.
What yarn should I use?
Any smooth cotton or acrylic works. Cotton gives crisp stitches and good definition. Acrylic is soft and easy to find in lots of colors.
Final Thoughts
A tiny crochet monster like this proves that the quickest projects are often the most charming. Grab four colors from your stash, turn on a movie, and have him ready by the end of the evening. If you make one, I’d love to see your color combinations!
Happy crocheting!