How to Crochet a No-Sew Miniature Bat Plushie (Free Video Tutorial)
Some amigurumi are cute. This little bat is cute and squishy. It has a round, plump body, a chubby head, pointy ears, and a pair of spread-out wings, all in soft chenille yarn that makes it feel like a tiny velvet pillow. It’s small enough to hold in both hands, which makes it a great quick project.
The pattern comes as a step-by-step video, so you can crochet along at your own pace, pause when you need to, and rewind the tricky parts. Grab your yarn and hook, and let’s make a new bat friend.
Why You’ll Love This Bat Plushie
- A no-sew design. The project is built to keep assembly to a minimum, so you spend more time crocheting and less time stitching pieces together.
- Video-guided. Following along on screen is much easier than decoding a written pattern, especially for the ears and wings.
- Squishy and soft. Chenille plush yarn gives the bat a velvety, huggable finish.
- Quick to make. It’s a small project, so it works up fast and makes a great last-minute gift.
- Endless color options. Purple, pastel pink, soft gray, lilac, blue, or mustard yellow all look adorable on a bat.
Materials You’ll Need
- Yarn: Chunky chenille (velvet) plush yarn in the color of your choice. This soft, velvety yarn gives the bat its squishy look.
- Crochet hook: An ergonomic hook with a soft grip makes plush yarn easier to handle. Use the size recommended in the video description.
- Safety eyes: Small round black safety eyes. If you’re making the bat for a baby or young child, embroider the eyes instead.
- Stitch marker: Handy for keeping your place in continuous rounds.
- Polyester stuffing: Enough to fill the head and body firmly.
- Tapestry needle and scissors: For weaving in ends and finishing.
Finished size: A miniature bat that fits comfortably in your hands. A thicker yarn and a larger hook will make it bigger.
What to Expect in the Tutorial
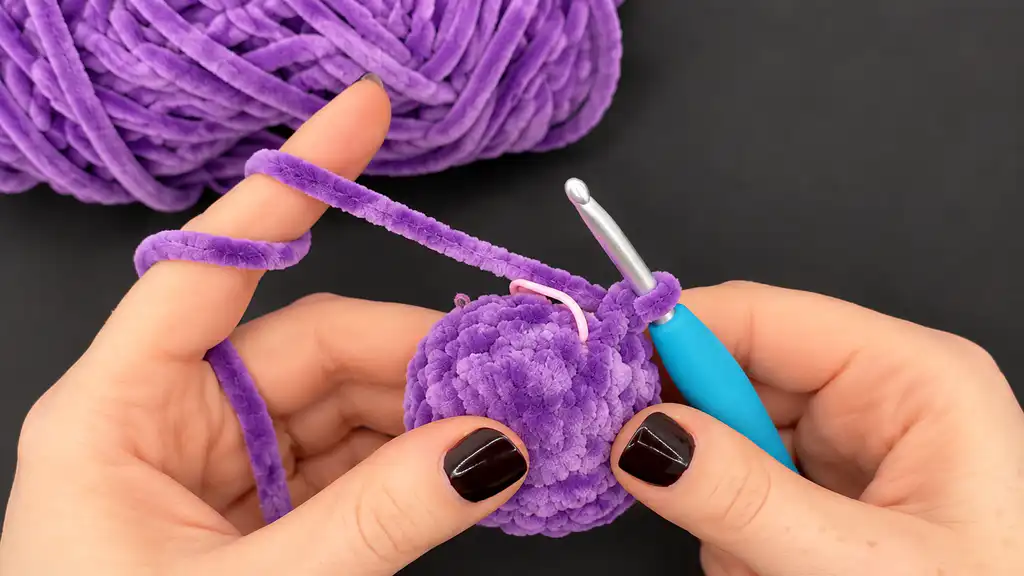
The video takes you through the whole project, from the first stitch to the finished bat. Here’s what you’ll make:
- Body and head. You work in continuous rounds, using a stitch marker, to shape a round head sitting on top of a plumper body.
- Eyes. The safety eyes go on the head before you close it up, so you can check the spacing first.
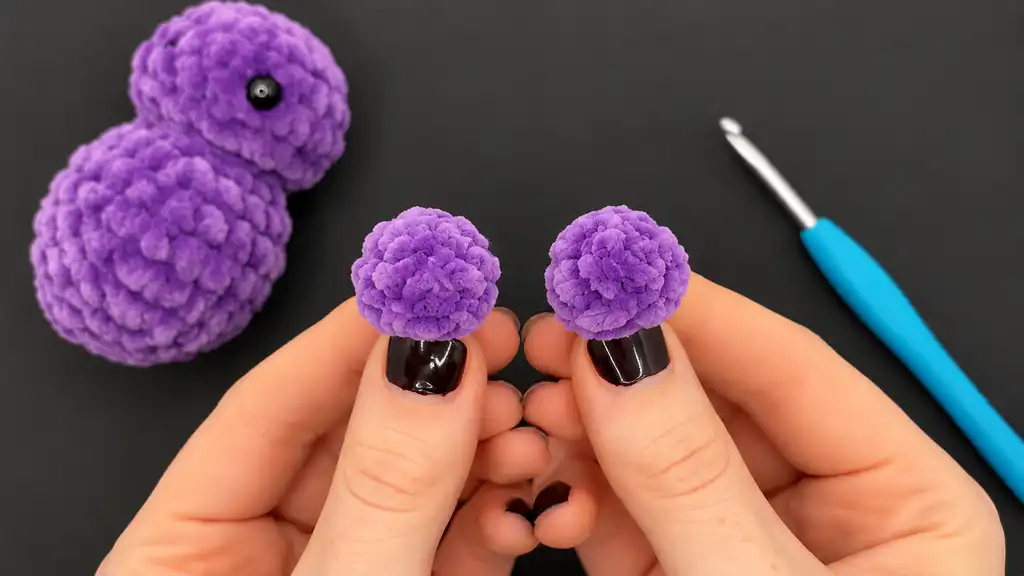
- Ears. You make two small, round ears that give the bat its cute pointed-ear look.
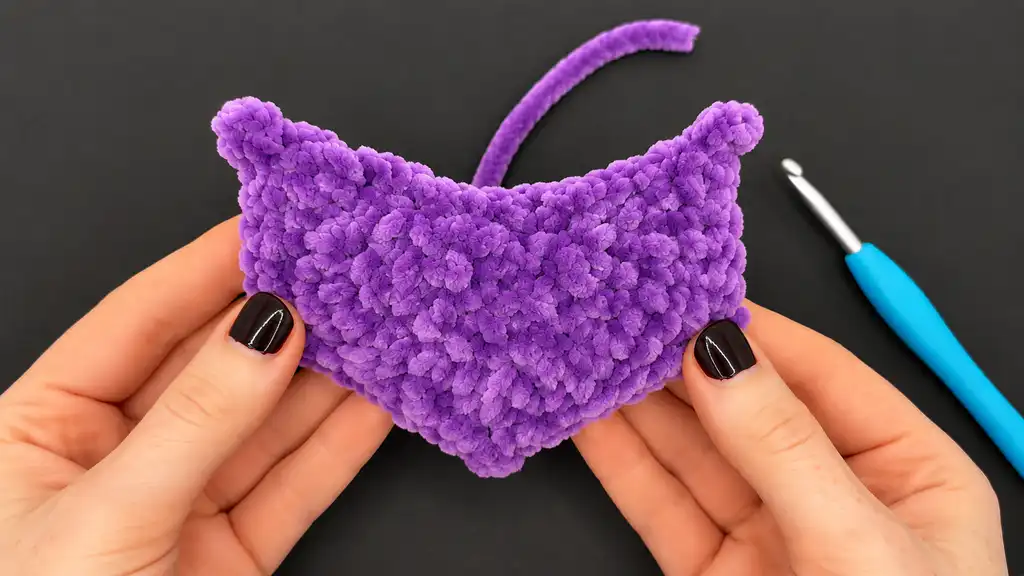
- Wings. The wings come together as one wide, flat piece with pointed edges, which gives the bat its classic wingspan.
- Finishing. You bring everything together and shape the bat until it looks just right.
Tips for the Best Results
- Choose the eye spot with care. Test the placement before locking the safety eyes. Small changes in spacing completely change the bat’s expression.
- Stuff firmly and evenly. A well-stuffed body keeps its round shape and helps the bat sit nicely.
- Keep your tension snug. A tighter stitch stops the stuffing from showing through the plush yarn.
- Use a hook that’s comfortable with chenille. Chenille yarn can be slippery, and a soft-grip hook helps you keep control.
- Use a stitch marker. It keeps you from losing your place in continuous rounds, especially with fluffy yarn where stitches are harder to see.
- Pinch and shape at the end. Gently shape the ears and wings with your fingers so they sit exactly the way you like.
Color Ideas
Classic purple looks great, but this bat also shines in soft pink, lilac, powder blue, cream, gray, or a bold mustard yellow. Try making a small family of bats in different colors and line them up on a shelf, or use a two-tone look with wings in a contrasting shade.
What to Do With Your Finished Bat
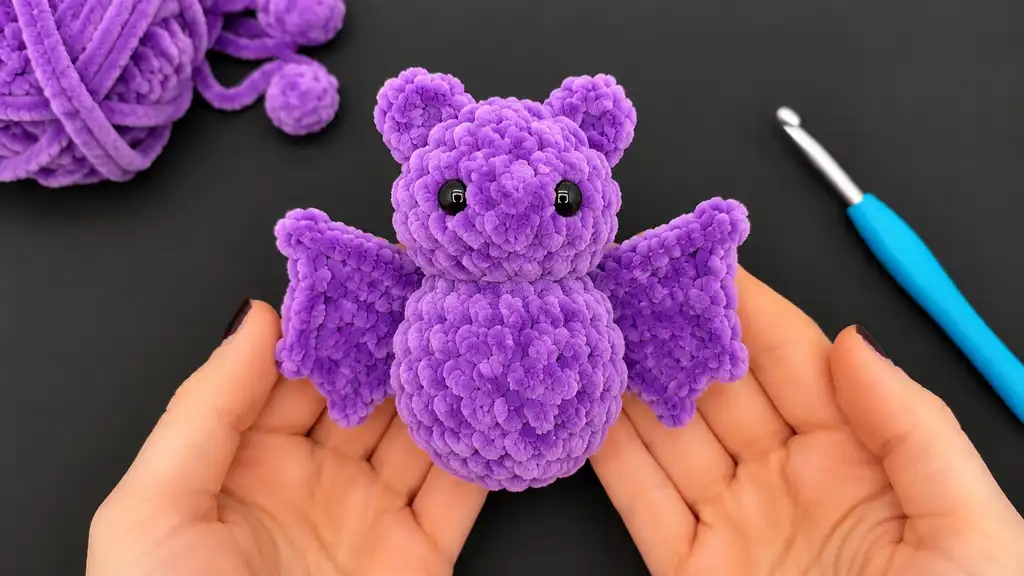
- Display it on a bookshelf, desk, or windowsill.
- Give it as a handmade gift to someone who loves cute and quirky things.
- Add a small loop of yarn to turn it into a bag charm or keychain.
- Make a batch in different colors for a craft fair or shop (check the designer’s terms of use before selling).
Watch the Video Tutorial
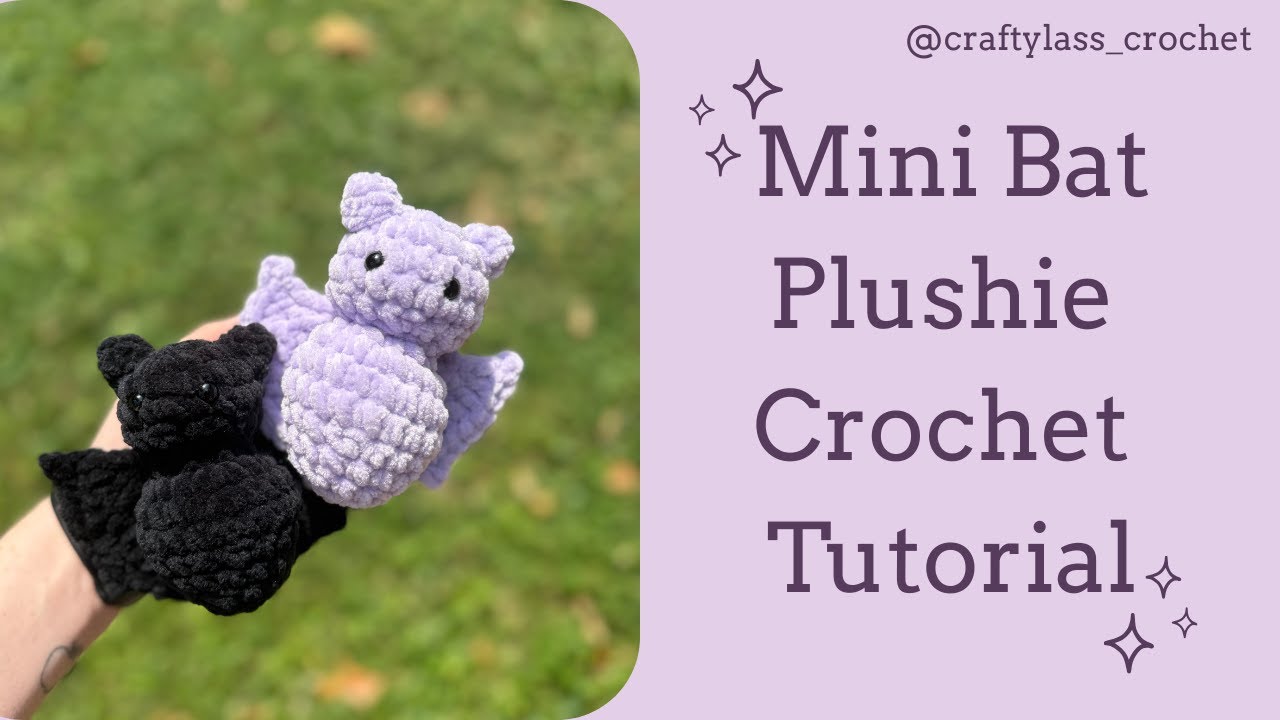
Design and video tutorial by Monua DIY. All credit for the pattern goes to the designer, so please show some love on the original video by liking it and subscribing to the channel
Frequently Asked Questions
Is this bat really no-sew?
Yes, the tutorial is designed as a no-sew project, so you skip most of the assembly work that makes amigurumi feel tedious. You’ll only need your tapestry needle for finishing touches like weaving in ends.
Is there a written pattern?
This tutorial is a video pattern. It’s made to be followed while you crochet, so keep it open on your phone or tablet as you work.
Can I make the bat bigger or smaller?
Yes. A thicker yarn with a larger hook gives you a bigger bat, and a thinner yarn with a smaller hook gives you a smaller one.
Which yarn works best?
Chunky chenille plush yarn gives the softest, most huggable result and is the yarn used in the tutorial. You can also try other soft, chunky yarns, but the finished texture will be a little different.
Do I have to use safety eyes?
No. If you’re making the bat for a baby or young child, embroider the eyes with black yarn or thread instead. It’s a safer option and looks just as cute.
Can I sell the finished bats?
Check the designer’s terms before selling anything made from this pattern. Give credit to Monua DIY wherever you share your bat.
Save This Pattern for Later
Pin this tutorial so you can find it whenever you’re in the mood for a quick, cozy make. Happy crocheting!